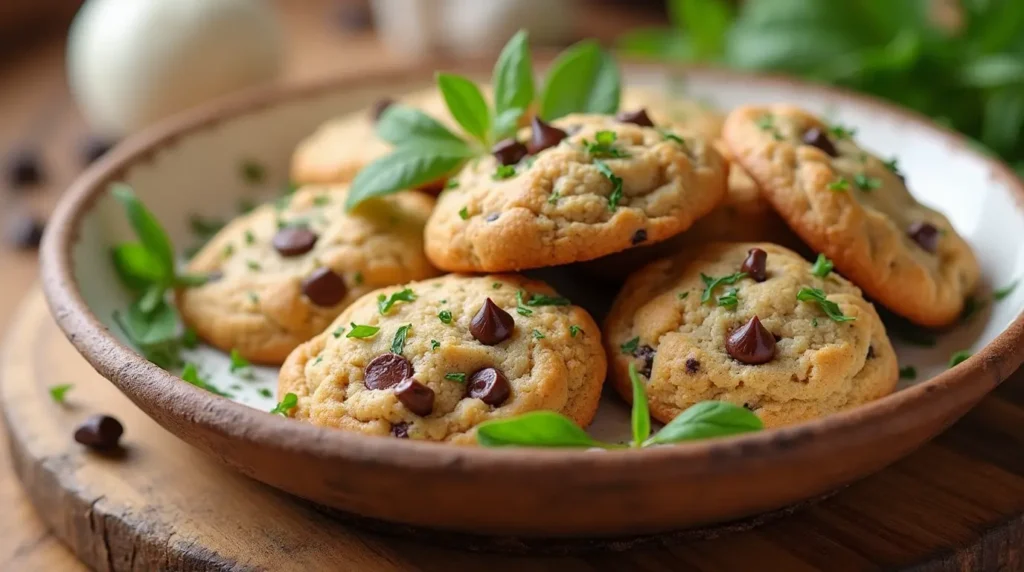
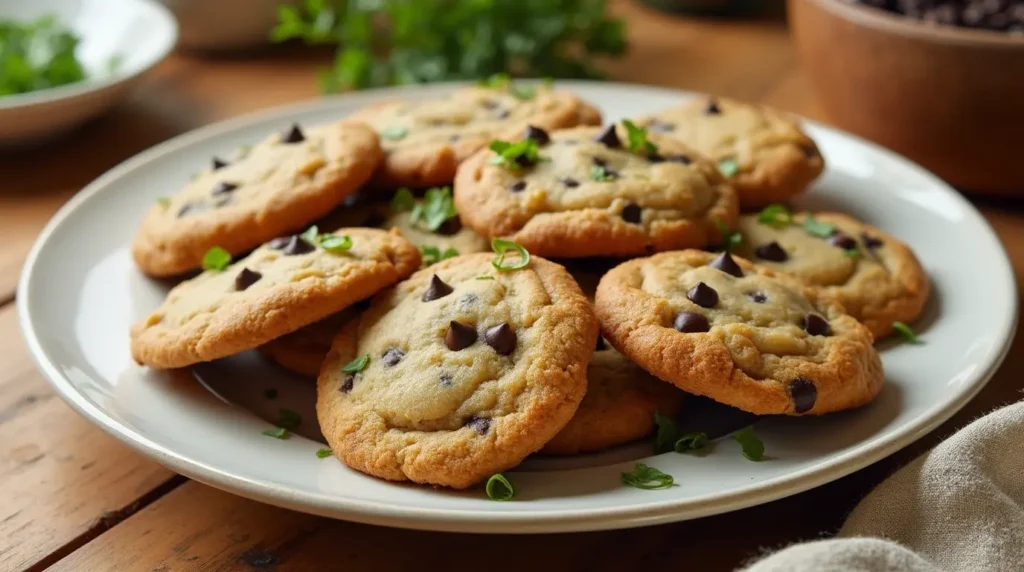
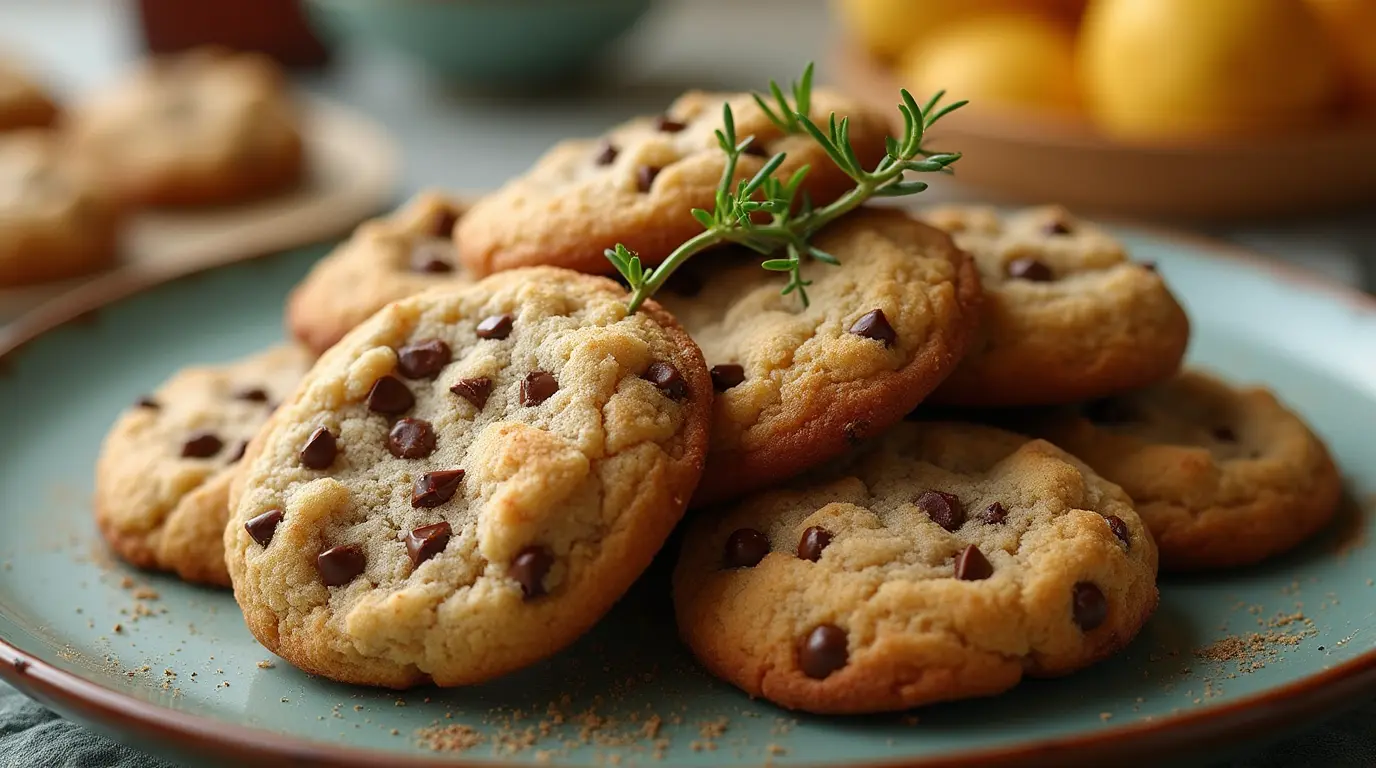
This Classic Chocolate Chip Cookies recipe is a delightful blend of flavors that’s easy to make and perfect for any occasion.
Introduction
There’s something undeniably comforting about the aroma of freshly baked chocolate chip cookies wafting through the house. This classic treat has been a staple in American kitchens for generations, often evoking fond memories of childhood baking sessions with family. Whether enjoyed warm from the oven or as a sweet addition to lunchboxes, chocolate chip cookies hold a special place in our hearts and on our dessert tables.
The origins of chocolate chip cookies date back to the 1930s when Ruth Wakefield, owner of the Toll House Inn in Massachusetts, added chopped chocolate to her cookie dough. Little did she know that this simple addition would lead to one of the most beloved cookies in the world. Today, chocolate chip cookies are not just a dessert; they symbolize warmth, love, and the joy of sharing homemade treats with friends and family.
Table of Contents
Key Takeaways
- Flavor: Rich, buttery cookies with gooey chocolate chips.
- Dietary Considerations: Vegetarian-friendly and can be made gluten-free with substitutions.
- Ease of Preparation: Simple steps make this recipe accessible for bakers of all skill levels.
Recipe Card
| Prep Time | Cook Time | Total Time | Servings | Calories per Serving |
|---|---|---|---|---|
| 15 minutes | 10-12 minutes | 25-27 minutes | 24 cookies | 150 |
Ingredients
| Ingredient | Quantity | Notes |
|---|---|---|
| All-purpose flour | 2 1/4 cups | Spoon and leveled |
| Baking soda | 1 tsp | |
| Salt | 1/2 tsp | |
| Unsalted butter | 1 cup (2 sticks) | Softened at room temperature |
| Granulated sugar | 3/4 cup | |
| Brown sugar | 3/4 cup | Packed |
| Vanilla extract | 1 tsp | Pure vanilla preferred |
| Eggs | 2 large | Room temperature |
| Semi-sweet chocolate chips | 2 cups | Use high-quality for best flavor |
Step-by-Step Recipe Instructions for Classic Chocolate Chip Cookies
Step 1: Preheat Your Oven
Instructions:
Begin by preheating your oven to ensure it’s hot enough when you’re ready to bake your cookies. This step is crucial as it helps achieve that perfect golden-brown exterior while keeping the inside soft and chewy.
Tip: Always check your oven temperature with an oven thermometer for accuracy.
Step 2: Prepare Your Baking Sheets
Instructions:
Prepare your baking sheets by lining them with parchment paper or silicone mats. This prevents sticking and makes cleanup easier after baking.
Tip: If you don’t have parchment paper, lightly greasing your baking sheets will also work.
Step 3: Cream Butter and Sugars
Instructions:
In a large mixing bowl, combine softened butter with granulated sugar and brown sugar. Use an electric mixer on medium speed until light and fluffy—this process incorporates air into your mixture for lighter cookies.
Tip: Ensure your butter is at room temperature for optimal creaming; cold butter won’t mix well.
Step 4: Add Eggs and Vanilla
Instructions:
Add eggs one at a time to your creamed mixture while mixing on low speed. Follow this by pouring in vanilla extract—this adds depth of flavor to your cookies.
Tip: Scrape down the sides of your bowl frequently to ensure even mixing.
Step 5: Combine Dry Ingredients
Instructions:
In another bowl, whisk together flour, baking soda, and salt before gradually adding this mixture to your wet ingredients. Stir until just combined—be careful not to overmix, as this can result in tough cookies.
Tip: Use a spatula for gentle folding if necessary.
Step 6: Fold in Chocolate Chips
Instructions:
Gently fold in your choice of chocolate chips using a spatula until evenly distributed throughout the dough.
Tip: Reserve some chips to sprinkle on top before baking for an appealing look!
Step 7: Scoop Dough onto Baking Sheets
Instructions:
Using a cookie scoop or tablespoon, drop rounded balls of dough onto prepared baking sheets—leave enough space between each ball as they will spread while baking.
Tip: For uniformity in size, use an ice cream scoop!
Step 8: Bake Cookies
Instructions:
Place your baking sheets in a preheated oven and bake for about 10-12 minutes or until the edges are golden brown but the centers remain soft.
Tip: Rotate trays halfway through baking for even cooking if using multiple racks.
Step 9: Cool Before Serving
Instructions:
Once baked, allow cookies to cool on sheets for about five minutes before transferring them to wire racks—this helps them set without becoming too hard.
Tip: Enjoy warm with a glass of milk for a classic treat!
Notes
- For a chewier texture, refrigerate the dough for at least one hour before baking.
- Experiment with different types of chocolate chips (milk chocolate, dark chocolate) or add nuts for extra texture.
Nutrition Information
| Nutrient | Amount per Serving |
|---|---|
| Calories | 150 |
| Total Fat | 7g |
| Saturated Fat | 4g |
| Cholesterol | 30mg |
| Sodium | 100mg |
| Total Carbohydrates | 22g |
| Dietary Fiber | 1g |
| Sugars | 10g |
| Protein | 2g |

Tools and Equipment Needed
| Equipment | Purpose |
|---|---|
| Mixing bowls | For combining ingredients |
| Electric mixer | For creaming butter and sugars |
| Whisk | For mixing dry ingredients |
| Cookie scoop | For portioning dough |
| Baking sheets | For baking cookies |
The History of Recipe
The classic chocolate chip cookie has become synonymous with American culture since its inception in the late 1930s. Ruth Wakefield’s innovative idea to add chunks of chocolate to her cookie batter transformed an ordinary treat into a national favorite. The original recipe was published in a Boston newspaper and quickly gained popularity across the country.
Over time, variations emerged as bakers experimented with different ingredients and techniques. From adding nuts to using various types of chocolate, each adaptation has contributed to the cookie’s legacy. Today, it remains a beloved dessert that brings families together during holidays and special occasions.
Common Mistakes to Avoid
- Overmixing Dough: This can lead to tough cookies; mix just until combined.
- Not Measuring Flour Correctly: Spoon flour into measuring cups rather than scooping directly from the bag to avoid packing it down.
- Skipping Chilling Time: If you want thicker cookies, chilling dough is essential.
Why You’ll Love This Recipe
- Flavor Profile: These cookies are rich and buttery with melty chocolate chips that create a perfect balance of sweetness.
- Ease of Preparation: Simple steps make it easy for anyone to whip up a batch quickly.
- Versatility: Adaptable for various occasions—perfect for parties or cozy family nights.
Key Ingredients and Substitutions
- Butter: Unsalted butter is recommended for better control over salt levels; you can substitute coconut oil for a dairy-free version.
- Flour: All-purpose flour works best; however, gluten-free flour blends can be used as alternatives.
- Chocolate Chips: Semi-sweet is traditional but feel free to experiment with dark or milk chocolate based on your preference.

Culinary Magic: The Pleasure of Making This Recipe
Baking classic chocolate chip cookies is not just about following a recipe; it’s about creating memories and enjoying every moment spent in the kitchen. The joy derived from mixing ingredients and watching them transform into warm, gooey treats is truly magical.
Troubleshooting Common Issues
- Problem: Cookies spread too much.
- Solution: Chill your dough before baking next time or check if you measured flour correctly.
- Problem: Cookies are too hard after cooling.
- Solution: Ensure you don’t overbake them; they should look slightly underbaked when you take them out.
Expert Tips for Success
To achieve bakery-quality results:
- Use high-quality chocolate chips for better flavor.
- Experiment with different types of sugars (like coconut sugar) for unique tastes.
- Consider adding sea salt on top before baking for enhanced flavor contrast.
Variations and Customizations
- For a nutty twist, add chopped walnuts or pecans along with chocolate chips.
- Try incorporating dried fruits like cranberries or cherries for added sweetness and texture.
Storage and Reheating Instructions
Keep leftover cookies in an airtight container at room temperature for up to one week. For longer storage, freeze them by placing cooled cookies in freezer bags separated by parchment paper; they can last up to three months. To enjoy again, simply thaw at room temperature or warm briefly in the microwave.
Serving Suggestions
Pair these classic cookies with:
- A glass of cold milk or hot cocoa.
- Ice cream sandwiches by placing scoops between two cookies.
Frequently Asked Questions
What ingredients are needed?
- You will need all-purpose flour, baking soda, salt, unsalted butter, granulated sugar, brown sugar, vanilla extract, eggs, and semi-sweet chocolate chips.
How do I prepare this dish?
- Start by creaming butter with sugars; then add eggs and vanilla before mixing dry ingredients into wet ones followed by folding in chocolate chips.
What tools are required?
- Essential tools include mixing bowls, an electric mixer, measuring cups/spoons, cookie scoops/spatulas, and baking sheets lined with parchment paper.
Can I make this ahead of time?
- Yes! You can prepare the dough ahead of time; just chill it until ready to bake or freeze it for later use.
How do I store leftovers?
- Store them in an airtight container at room temperature or freeze them for longer preservation as mentioned above.
What are some common variations?
- Variations include adding nuts like walnuts or pecans or substituting different types of chocolate (dark/milk).
Can I substitute certain ingredients?
- Yes! Coconut oil can replace butter; gluten-free flour can be used instead of all-purpose flour if needed.
How long does it take to cook?
- The total cooking time is approximately 25–27 minutes including prep time; each batch bakes within about ten minutes depending on your oven settings.
What should I serve with this dish?
- Serve these cookies alongside milk or ice cream; they also pair well with coffee during brunch gatherings!
Is this recipe suitable for special diets?
While traditionally not vegan-friendly due to eggs/dairy products used here; modifications can be made (like flax eggs) making it suitable!
Conclusion: A Delicious Intersection of Tradition and Modernity
Classic Chocolate Chip Cookies embody nostalgia while offering endless possibilities for creativity in flavor combinations. Whether you’re making them for yourself or sharing them during gatherings, these cookies are sure to delight everyone who takes a bite!
Call to Action
Ready to make these delicious Classic Chocolate Chip Cookies? Give it a try and share your results with us! We’d love to hear about your twists, tips, and serving ideas in the comments below!

