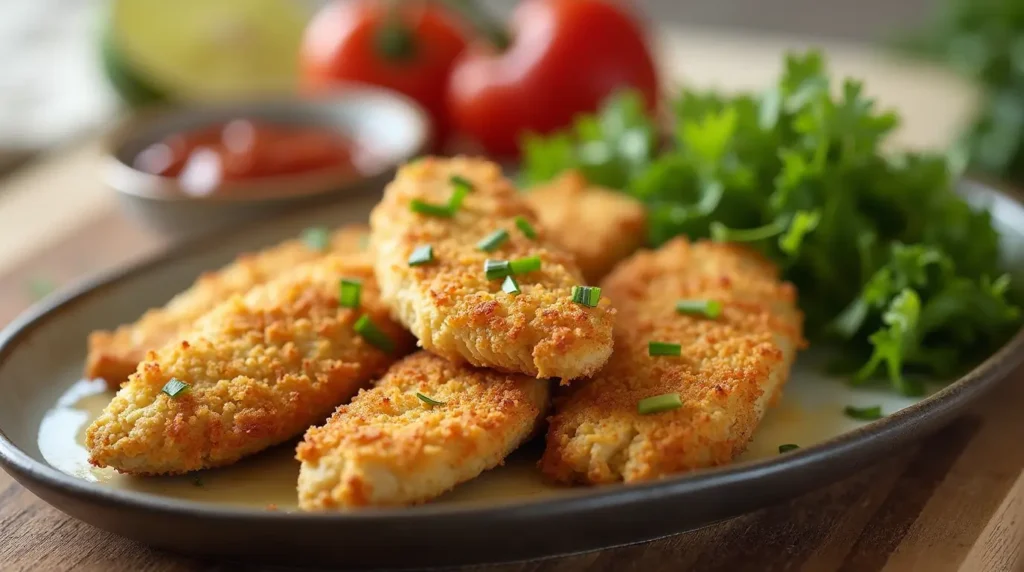
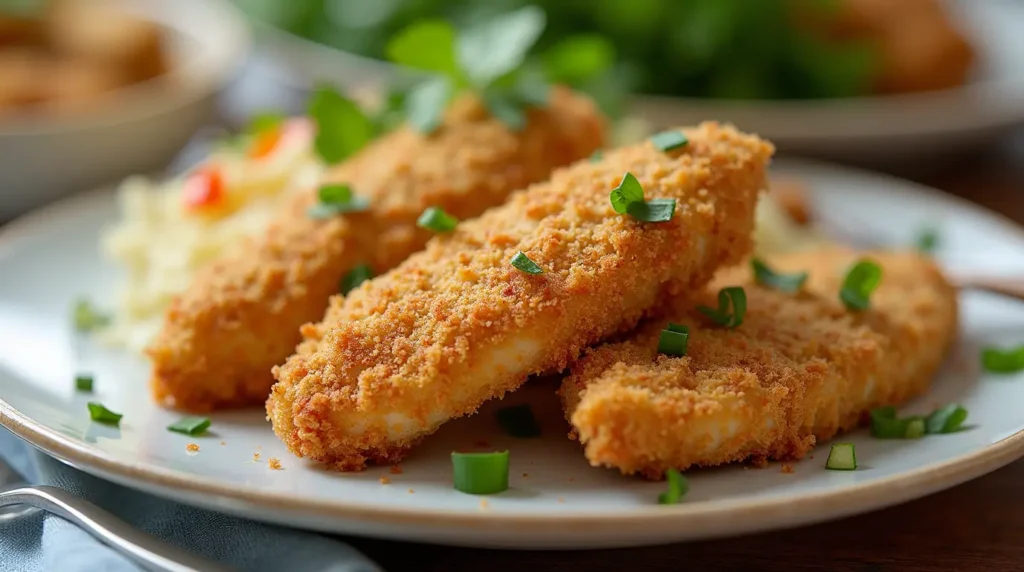
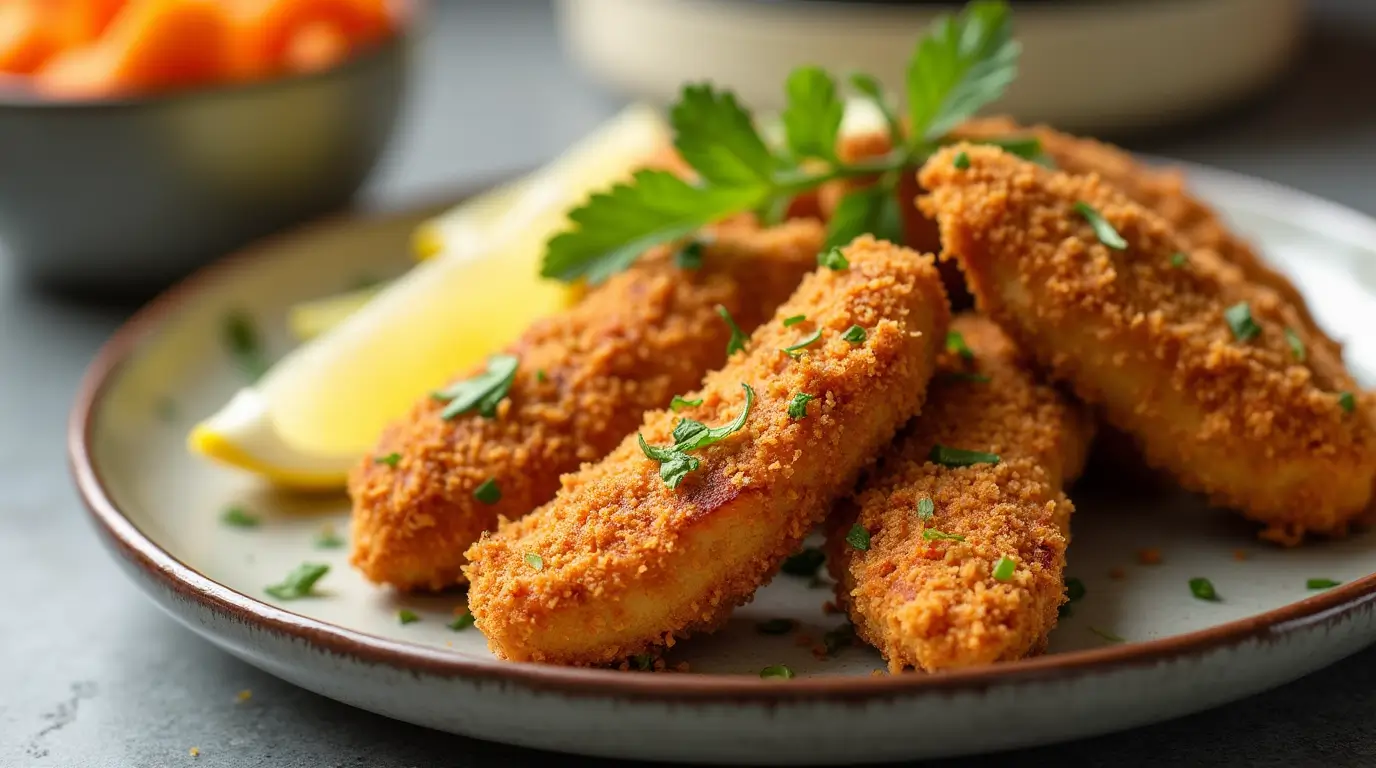
This Baked Panko Chicken Strips Recipe is a simple, crispy, and healthier alternative to fried chicken strips, offering a delightful crunch and rich flavor in every bite.
Introduction
Everyone loves crispy chicken strips, but what if you could enjoy that same satisfying crunch without the guilt of deep frying? Enter the Baked Panko Chicken Strips Recipe, a healthier take on your favorite comfort food. By using panko breadcrumbs and baking instead of frying, these chicken strips deliver all the crispiness you crave with a fraction of the calories. Whether you’re preparing a weeknight dinner or serving them as an appetizer at your next gathering, these chicken strips are guaranteed to impress.
This recipe has a special place in my heart because it’s one I make often for my family. It’s easy enough for a quick dinner, but impressive enough for special occasions. Plus, it’s a fun recipe for kids to help with, making it a great bonding experience. The best part is that they’re so versatile. You can dip them in a variety of sauces, serve them with your favorite sides, or even add them to salads or wraps for a satisfying meal.
Table of Contents
Key Takeaways
- Flavor: Crispy, tender chicken with a crunchy panko crust, seasoned to perfection.
- Dietary Considerations: Naturally gluten-free if you use gluten-free panko breadcrumbs. Easily customizable for different spice levels.
- Ease of Preparation: Quick to prepare and easy to bake, with minimal cleanup required.
- Versatility: Ideal for dinner, lunch, or as a party appetizer; pairs well with various dipping sauces.
Recipe Card
| Prep Time | Cook Time | Total Time | Servings | Calories per Serving |
|---|---|---|---|---|
| 15 minutes | 20-25 minutes | 40 minutes | 4 servings | 350 |
Ingredients
| Ingredient | Quantity | Notes |
|---|---|---|
| Chicken breasts | 2 large | Boneless and skinless, cut into strips |
| Panko breadcrumbs | 1 ½ cups | Regular or gluten-free |
| Eggs | 2 large | Beaten |
| All-purpose flour | ½ cup | For dredging |
| Olive oil | 2 tablespoons | For spraying or brushing the chicken |
| Garlic powder | 1 teaspoon | Adds extra flavor |
| Onion powder | 1 teaspoon | Enhances the taste |
| Paprika | ½ teaspoon | Optional, for a smoky flavor |
| Salt | 1 teaspoon | Season to taste |
| Black pepper | ½ teaspoon | Season to taste |
Step-by-Step Recipe Instructions for Baked Panko Chicken Strips
Step 1: Prepare the Chicken
Instructions:
Start by preheating your oven to 400°F (200°C) to ensure it’s hot and ready for the chicken. Then, take your chicken breasts and slice them into strips of uniform thickness. This will help them cook evenly. Pat the chicken dry with a paper towel to remove excess moisture—this step ensures that the breading sticks properly and gives you a crispier result.
Tip: Make sure your chicken strips are similar in size to avoid uneven cooking. If the strips are too thick, they may need extra baking time, while thinner strips might dry out. Use a sharp knife to get clean cuts.
Step 2: Set Up the Dredging Station
Instructions:
Now, set up three shallow bowls. In the first bowl, place the flour. In the second, beat the eggs until smooth. In the third, combine the panko breadcrumbs, garlic powder, onion powder, paprika, salt, and black pepper. Mix the panko mixture well to ensure the seasonings are evenly distributed throughout. This will give each strip a flavorful coating.
Tip: For a perfectly even breading, dip the chicken strips one at a time into the flour, then the egg, and finally the breadcrumb mixture. Press gently on the breadcrumbs to help them stick without clumping.
Step 3: Coat the Chicken
Instructions:
Take each chicken strip and dredge it first in the flour, shaking off any excess. Then dip it into the beaten eggs, making sure it’s fully coated. Finally, transfer it to the panko mixture and coat it thoroughly, pressing down slightly to ensure the breadcrumbs stick well. Place each strip on a wire rack or parchment-lined baking sheet. This helps the air circulate the chicken for even crisping.
Tip: If you like extra crunch, you can repeat the egg and breadcrumb process to double-coat the chicken for a thicker, crunchier layer.
Step 4: Bake the Chicken
Instructions:
Arrange the coated chicken strips in a single layer on a wire rack or parchment paper. Lightly spray the chicken with olive oil to encourage browning and crisping. Bake the chicken in the preheated oven for 20-25 minutes or until golden brown and crispy. Check for doneness by cutting into a strip—the meat should be opaque and juices should run clear.
Tip: If you don’t have a wire rack, flip the chicken halfway through baking to ensure both sides get crispy. Keep a close eye during the last few minutes of baking to prevent overcooking.
Step 5: Serve and Enjoy
Instructions:
Once the chicken is golden and crispy, remove the strips from the oven. Allow the chicken strips to rest for a few minutes before serving to ensure the juices redistribute and the meat stays tender. Serve your baked panko chicken strips with a selection of dipping sauces like honey mustard, ranch, or barbecue sauce.
Tip: For added flavor, try squeezing fresh lemon over the chicken strips or sprinkle them with a little parsley for a pop of color.
Notes
- Ingredient Substitutions:
- For a healthier twist, you can use whole wheat panko breadcrumbs or even try a mixture of ground almonds and panko for a gluten-free option.
- Feel free to adjust the spices to suit your taste. Add chili powder or cayenne pepper if you prefer a spicier version.
- Cooking Technique Tip:
If you’re using a wire rack, the chicken strips cook more evenly because air circulates them, giving you a crispier coating. If you don’t have a wire rack, parchment paper will still work well, but you might need to flip the chicken halfway through cooking for even crisping.
Nutrition Information
| Nutrient | Amount per Serving |
|---|---|
| Calories | 350 |
| Total Fat | 12g |
| Saturated Fat | 2g |
| Cholesterol | 70mg |
| Sodium | 600mg |
| Total Carbohydrates | 32g |
| Dietary Fiber | 2g |
| Sugars | 2g |
| Protein | 30g |
Tools and Equipment Needed
| Equipment | Purpose |
|---|---|
| Mixing bowls | For combining the flour, eggs, and breadcrumbs |
| Baking sheet | For baking the chicken strips |
| Wire rack | To allow air circulation for even baking |
| Measuring cups/spoons | To measure the flour, breadcrumbs, and spices |
| Cooking spray | To lightly coat the chicken for extra crispiness |

The History of Baked Chicken Strips
Chicken strips are a classic American dish, often enjoyed at casual dinners, parties, or as a comfort food. Traditionally, fried chicken strips have been a staple in many households, offering a crispy and indulgent meal. However, with increasing health-conscious eating trends, baked versions of crispy chicken have gained popularity. By using panko breadcrumbs, a Japanese-style breadcrumb, this dish gives a lighter, crispier texture without the need for deep frying. This recipe is a healthier alternative that still delivers all the flavor and crunch you’d expect from chicken strips.
Over time, this dish has evolved beyond the classic diner favorite, incorporating various flavor profiles and dipping sauces. Today, baked panko chicken strips are often seen as a healthier, yet equally satisfying alternative to fried versions, allowing people to enjoy a beloved dish with fewer calories and less fat. With endless opportunities for customization, baked chicken strips continue to be a versatile and beloved choice for home cooks and families alike.
Common Mistakes to Avoid
- Overcooking the Chicken: Chicken strips should be cooked just until golden brown and crispy. Overbaking can result in dry, tough strips.
- Not Preheating the Oven: Make sure your oven is fully preheated before baking the chicken strips. A hot oven helps the panko breadcrumbs crisp up quickly.
- Skipping the Dredging Process: Ensure each strip is coated in flour, egg, and breadcrumbs to achieve that perfect crispy texture.
Why You’ll Love This Recipe
- Flavor Profile: The crispy panko coating adds a delightful crunch, while the seasoned chicken inside remains juicy and tender. The flavor balance between the garlic, onion, and paprika is just right.
- Ease of Preparation: With only a few steps and minimal ingredients, this recipe is quick and easy, making it perfect for busy weeknights.
- Versatility: Whether you serve these chicken strips as a main dish with vegetables and rice, or as a snack with dipping sauces, this recipe adapts to any occasion.
Key Ingredients and Substitutions
The key ingredients in this Baked Panko Chicken Strips Recipe are essential for achieving that crispy, flavorful coating and tender chicken. Each ingredient plays a role in the final taste and texture of the dish. Here’s a breakdown of their importance, along with substitutions for dietary needs or ingredient availability:
- Chicken Breasts: The foundation of the dish, boneless, skinless chicken breasts are tender and cook quickly. If you need a substitution, you can use chicken thighs for a juicier option or try turkey breast for a leaner alternative.
- Panko Breadcrumbs: These Japanese-style breadcrumbs are light and create a crispier texture than regular breadcrumbs. For a gluten-free version, use gluten-free panko breadcrumbs or crushed cornflakes. You can also use crushed rice crackers for a similar crunch.
- Eggs: The egg wash helps bind the breadcrumbs to the chicken. For an egg-free version, substitute with a mixture of milk and cornstarch or a flax egg (1 tablespoon ground flaxseed mixed with 3 tablespoons water).
- Flour: Used for dredging, it helps the egg adhere to the chicken. You can swap it with gluten-free flour or even chickpea flour for a protein boost.
- Olive Oil: Adds moisture and helps the panko crisp up in the oven. If you prefer, you can use avocado oil or a light cooking spray to reduce the oil content.
Each ingredient has a role in ensuring the chicken strips come out crispy and flavorful, but substitutions can be made based on dietary preferences or availability.
Culinary magic: the pleasure of making this recipe
Making these Baked Panko Chicken Strips is like casting a spell in the kitchen, turning simple ingredients into a delightful dish. The key to perfection lies in the details—lightly coating the chicken, ensuring the oven is just the right temperature, and taking the time to get the breading golden brown. Whether you’re preparing these for dinner or a special occasion, the process of creating such crispy, tender strips is a true joy.

Troubleshooting Common Issues
Problem: Breading is falling off the chicken
Solution: Ensure that the chicken is patted dry before dredging. Any excess moisture can cause the breading to slip off during baking. Also, make sure the chicken is coated in flour first, then egg, and finally the panko breadcrumbs. Press the breadcrumbs gently into the chicken for better adhesion.
Problem: Chicken strips are soggy
Solution: The key to crispy chicken is to bake it on a wire rack. If you don’t have one, flip the chicken halfway through baking. Avoid placing the chicken directly on a baking sheet, as the bottom can get soggy. Lightly spray the chicken with olive oil before baking to encourage crispness.
Expert Tips for Success
- Quality Panko: Invest in good-quality Panko breadcrumbs for the best crunch. Some brands use finer breadcrumbs, which can result in a less crispy texture. Look for a panko that is large and airy.
- Egg Wash Consistency: Ensure that the egg wash is well-beaten for an even coat on the chicken. If you prefer a thicker breading, double-dip your chicken by going through the egg and panko mixture twice.
- Oven Temperature: Preheat your oven thoroughly. A hot oven is crucial for achieving crispy chicken strips. Do not overcrowd the pan to allow the heat to circulate evenly around each strip.
Variations and Customizations
- Vegan Option: For a vegan version of this recipe, substitute the chicken with tofu or tempeh. Use a flax egg (1 tablespoon flaxseed meal + 3 tablespoons water) instead of the egg wash and gluten-free panko for a plant-based alternative.
- Gluten-Free: Use gluten-free breadcrumbs and flour alternatives (such as rice flour or chickpea flour) to make this recipe gluten-free.
- Spicy Chicken Strips: Add cayenne pepper, chili powder, or your favorite hot sauce to the panko mixture for a spicy kick. You can also serve these with a spicy dipping sauce like sriracha mayo.
Storage and Reheating Instructions
Storing Leftovers:
Place any leftover chicken strips in an airtight container and refrigerate them for up to 3 days. Ensure the strips are fully cooled before storing them to prevent condensation, which can make them soggy.
Freezing Leftovers:
For longer storage, freeze the chicken strips. Lay them out on a baking sheet in a single layer, then freeze until firm. After freezing, transfer the chicken strips to an airtight container or freezer bag. They can be stored in the freezer for up to 2 months.
Reheating:
To restore the crispiness, reheat the chicken strips in an oven or air fryer. Preheat the oven to 375°F (190°C), place the chicken on a baking sheet, and bake for 10-15 minutes until heated through. For air fryer reheating, cook at 375°F (190°C) for 5-8 minutes, checking halfway through.
Serving Suggestions
- Side Dishes: Serve these baked panko chicken strips with a refreshing salad, like a Caesar salad or coleslaw. You can also pair them with crispy French fries, roasted vegetables, or a baked potato.
- Dips: Offer a variety of dipping sauces, such as ranch dressing, honey mustard, barbecue sauce, or a spicy sriracha mayo.
- Drinks: A cold, crisp drink like iced tea, lemonade, or even a light beer pairs perfectly with the crunchy, savory chicken strips.
Frequently Asked Questions
What ingredients are needed?
The ingredients required for this recipe include boneless skinless chicken breasts, panko breadcrumbs, eggs, all-purpose flour, olive oil, garlic powder, onion powder, paprika, salt, and black pepper. You may also use alternative ingredients, such as gluten-free breadcrumbs or a flax egg for vegan versions.
How do I prepare this dish?
Prepare the chicken by slicing it into strips, then set up a dredging station with flour, egg wash, and seasoned panko. Coat the chicken in each layer and bake in a preheated oven until golden and crispy.
What tools are required?
You will need a baking sheet (or wire rack), shallow bowls for dredging, a sharp knife to cut the chicken, and measuring spoons. A cooking spray bottle will also help for an even coating of oil.
Can I make this ahead of time?
Yes, you can prepare the chicken strips ahead of time by coating them and storing them in the fridge for up to a few hours before baking. You can also freeze them before baking for a later meal.
How do I store leftovers?
Store leftover chicken strips in an airtight container in the refrigerator for up to 3 days. For long-term storage, freeze them, and they will stay fresh for up to 2 months.
What are some common variations?
You can experiment with different seasonings such as lemon zest for a fresh flavor, or add parmesan cheese to the panko for a cheesy crunch. If you want a spicy version, try adding chili flakes or hot sauce to the breading.
Can I substitute certain ingredients?
Yes, you can substitute chicken for tofu, tempeh, or even pork tenderloin. Flour can be substituted with gluten-free flour or chickpea flour, and panko can be replaced with crushed cornflakes for a similar crunch.
How long does it take to cook?
The baking time is approximately 20-25 minutes at 400°F, but this may vary based on the thickness of the chicken strips. Always check the internal temperature (165°F) to ensure they are fully cooked.
What should I serve with this dish?
Serve with side dishes like mashed potatoes, roasted vegetables, or a simple salad. Dips like ranch or barbecue sauce make the perfect accompaniment for these crispy chicken strips.
Is this recipe suitable for special diets?
Yes! This recipe can be easily modified for gluten-free diets with gluten-free breadcrumbs and flour. You can also make it vegan by using tofu and a flax egg.
Related Recipes
- Crispy Chicken Tenders – If you love chicken strips, try these fried tenders for an extra crunchy version.
- Parmesan Crusted Chicken – A cheesy alternative with crispy, golden edges.
- Chicken Parmesan – A classic with marinara sauce and melted cheese over crispy chicken.
Conclusion: A Delicious Intersection of Tradition and Modernity
This Baked Panko Chicken Strips Recipe is a wonderful balance of crispy texture and tender chicken, making it a hit for any occasion. The simple yet flavorful ingredients create a dish that’s both easy to prepare and versatile enough to adapt to different tastes and dietary needs. Whether you’re serving them for a weeknight dinner or a special gathering, these chicken strips will always be a crowd-pleaser. Try the recipe, make it your own, and don’t forget to share your experience!
Call to Action
Ready to make this delicious Baked Panko Chicken Strips? Give it a try and let us know how it turns out! We’d love to hear about your twists, tips, and serving ideas in the comments below.

