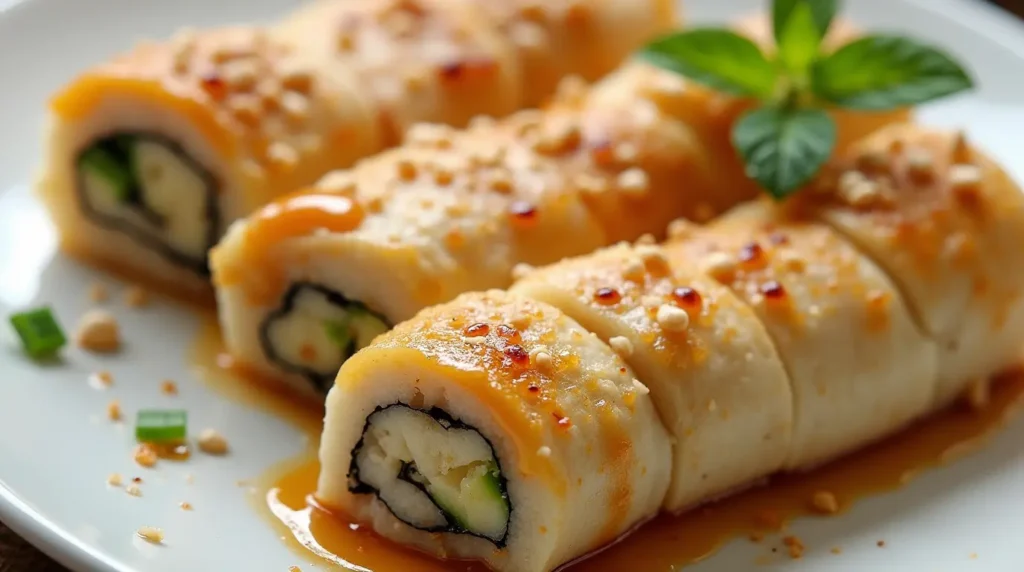
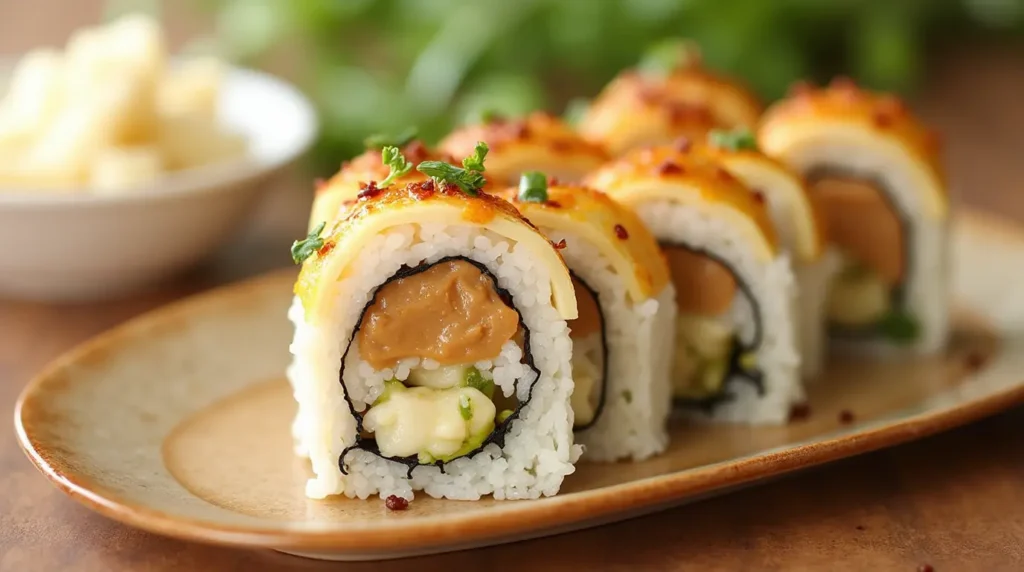
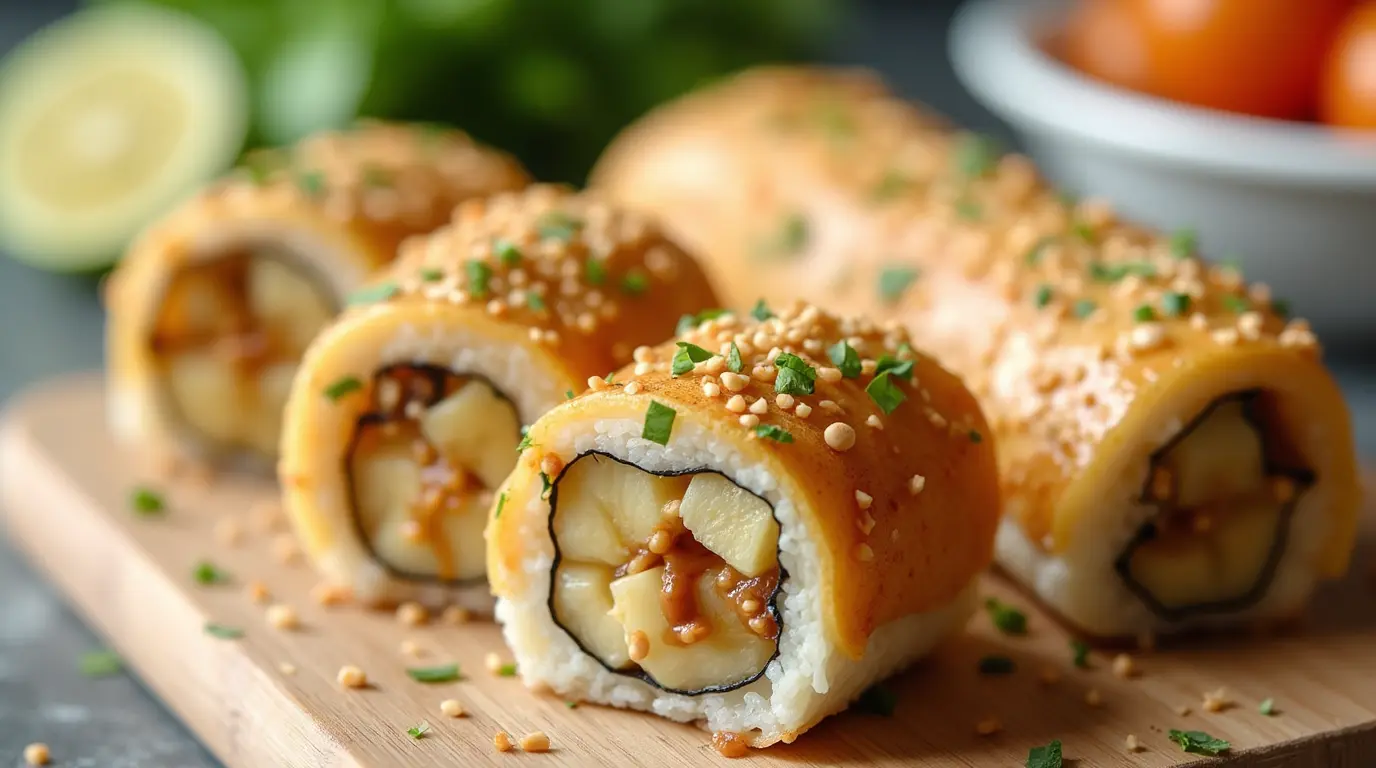
This Banana Sushi Roll With Peanut Butter is a delightful blend of creamy, sweet, and savory flavors wrapped in a fun, bite-sized roll. It’s easy to make and perfect for a snack, breakfast, or a healthy treat.
Introduction
Have you ever wondered how to turn a simple banana into a creative snack? The Banana Sushi Roll With Peanut Butter is an imaginative twist on traditional sushi, combining the sweetness of ripe bananas with peanut butter’s rich, creamy flavor. This fun dish is perfect for kids and adults looking for a quick, nutritious snack with a little flair. It’s a delightful fusion of flavors that satisfies both your sweet and savory cravings.
Banana sushi is incredibly easy to prepare and offers endless opportunities for customization. Whether you’re packing it for lunch, preparing it as an after-school snack, or serving it at a party, this dish will surely impress. It’s a fun, nutritious twist on the traditional sushi rolls, and with just a few ingredients, it transforms into a playful and satisfying bite. Plus, this recipe is versatile enough to be enjoyed by everyone, from picky eaters to health-conscious individuals.
Table of Contents
Key Takeaways
- Taste & Presentation: Sweet bananas paired with creamy peanut butter make for a delicious, satisfying snack that looks just as good as it tastes.
- Dietary Considerations: This recipe is vegetarian and can be made gluten-free by ensuring you use gluten-free wraps.
- Ease & Versatility: Easy to make and fully customizable. Add different toppings like honey, chocolate chips, or granola for an extra burst of flavor.
Recipe Card
| Prep Time | Cook Time | Total Time | Servings | Calories per Serving |
|---|---|---|---|---|
| 10 minutes | 0 minutes | 10 minutes | 4 | 200 |
Ingredients
| Ingredient | Quantity | Notes |
|---|---|---|
| Ripe bananas | 2 | Peel and slice lengthwise |
| Peanut butter | 4 tbsp | Smooth or chunky |
| Whole wheat tortillas | 2 | For wrapping |
| Honey (optional) | 2 tbsp | For drizzling on top |
| Chocolate chips (optional) | 2 tbsp | For added sweetness |
Step-by-Step Recipe Instructions for Banana Sushi Roll With Peanut Butter
Step 1: Prepare the Banana
Instructions:
Start by peeling the banana. Make sure it is ripe but not overly soft, as this will provide the best texture for your banana sushi rolls. Lay the banana on a cutting board and slice it in half horizontally. Then, cut each half into smaller segments about 2 inches in length, making them easier to roll up later.
Tip: For even slices, use a sharp knife to ensure smooth cuts without squashing the banana.
Step 2: Spread Peanut Butter
Instructions:
Take your peanut butter and, using a butter knife or spoon, spread a thin layer over the entire surface of each banana segment. Feel free to use either smooth or crunchy peanut butter, depending on your personal preference. The peanut butter will act as a binder to help the toppings stick to the banana.
Tip: For a smoother coating, consider warming the peanut butter slightly in the microwave for 10-15 seconds before spreading.
Step 3: Add Toppings
Instructions:
Once the peanut butter is spread evenly, sprinkle your desired toppings. Common choices include granola, shredded coconut, or chopped nuts. You can also get creative with a mix of dried fruits or chocolate chips. The toppings should be light, as you don’t want to overpower the delicate banana flavor.
Tip: Gently press the toppings into the peanut butter so they adhere better when you start rolling.
Step 4: Roll the Banana
Instructions:
Take each peanut butter-covered banana segment and carefully roll it up in a sheet of nori (seaweed). Place the nori shiny side down on your work surface, then roll it around the banana to create a compact sushi-like roll. If you have difficulty with the nori staying closed, wet the edge with a small amount of water to help seal it.
Tip: Use a sushi mat or a clean towel to help roll if you’re looking for a more precise shape.
Step 5: Slice the Rolls
Instructions:
Once all the banana segments are rolled in the nori, use a sharp knife to slice them into bite-sized pieces. You’ll want to cut gently to avoid squashing the banana or the roll. Aim for slices about 1 inch in thickness.
Tip: Clean the knife between each slice to prevent sticking and make each cut neat.
Step 6: Serve and Enjoy
Instructions:
Arrange your banana sushi rolls on a serving platter. You can drizzle a little honey or sprinkle some sesame seeds on top for extra flavor and decoration.
Tip: Serve immediately for the best texture, or refrigerate if you plan to eat them later.
Notes
- If you’re not a fan of peanut butter, try using almond butter, cashew butter, or even sun butter as a substitute.
- For an extra crunch, sprinkle granola on top of the peanut butter before rolling the banana into the tortilla.
- The banana sushi rolls are best enjoyed fresh but can be kept in the fridge for up to 24 hours.
Nutrition Information
| Nutrient | Amount per Serving |
|---|---|
| Calories | 200 |
| Total Fat | 12g |
| Saturated Fat | 2g |
| Cholesterol | 0mg |
| Sodium | 5mg |
| Total Carbohydrates | 28g |
| Dietary Fiber | 3g |
| Sugars | 15g |
| Protein | 5g |
Tools and Equipment Needed
| Equipment | Purpose |
|---|---|
| Knife | For slicing the banana and tortilla |
| Spoon or knife | For spreading the peanut butter |
| Cutting board | To work safely with the knife |
| Measuring spoons | For measuring the peanut butter and honey |
The History of Recipe
Banana sushi rolls may sound like a modern invention, but they blend elements of Japanese cuisine with Western flavors. The concept of “sushi rolls” filled with non-traditional ingredients like fruits and nut butter first emerged in fusion restaurants seeking to introduce sushi in a way that would appeal to a broader, often younger audience. By using a banana as the “fish” substitute and a tortilla as the wrap, the concept cleverly adapts the visual appeal and idea of sushi rolls but with a more accessible and kid-friendly twist.
Although banana sushi is not traditional Japanese fare, it has gained popularity as a fun, healthy snack. The dish represents a shift towards creating accessible, easy-to-make sushi alternatives that allow home cooks to play around with flavors while still honoring the basic elements of sushi — simplicity, neatness, and a balance of textures. It’s a delightful example of how food cultures can blend in creative, unexpected ways to offer new flavors and experiences.
Common Mistakes to Avoid
- Too Much Peanut Butter: Adding too much peanut butter can make the rolls difficult to handle and too messy. A thin even spread is ideal.
- Slicing the Bananas Too Thin: Ensure the banana slices are thick enough to hold up when rolled inside the tortilla. Thin slices can make the rolls too mushy.
- Not Rolling Tightly Enough: Be sure to roll the tortillas tightly around the banana to prevent the filling from spilling out.
Why You’ll Love This Recipe
- Flavor Profile: The combination of the naturally sweet banana with creamy peanut butter creates a perfect balance of flavors.
- Ease of Preparation: With only a few ingredients and minimal effort, this recipe comes together quickly for a fun snack.
- Versatility: You can customize the rolls by adding honey, chocolate chips, or granola for texture, making them as simple or elaborate as you like.
Key Ingredients and Substitutions
- Peanut Butter: Peanut butter is the star ingredient, adding creaminess and protein. For those with peanut allergies, almond butter, sunflower seed butter, or cashew butter are great alternatives.
- Bananas: Choose ripe bananas, as they are naturally sweeter and softer, making them easier to roll and more enjoyable to eat.
- Tortillas: Whole wheat tortillas are a great choice for a healthier option, but you can also use gluten-free tortillas if necessary.

Culinary Magic: The Pleasure of Making This Recipe
Creating this Banana Sushi Roll With Peanut Butter is as much about the process as it is about the result. The simple action of rolling a tortilla around a banana transforms everyday ingredients into something exciting and fresh. It’s a fun, hands-on recipe that allows for creativity while offering a delightful snack that everyone will enjoy. Whether for a quick breakfast, an after-school treat, or a party snack, this dish brings joy to any occasion. Enjoy the magic of making this recipe and the delicious flavors that come with it!
Troubleshooting Common Issues
Problem: The nori doesn’t stick together.
Solution: Lightly wet the edge of the nori with a little water before sealing it to help it stay together.
Problem: The banana gets too mushy while rolling.
Solution: Ensure the banana is slightly firm but ripe. Overripe bananas can become too soft and difficult to work with.
Expert Tips for Success
- For extra crunch and flavor, lightly toast the nori before rolling to enhance its umami taste.
- Choose a firm yet ripe banana for the best texture and ease of handling.
- Try using flavored peanut butter, like cinnamon or honey, to give a unique twist to the recipe.
Variations and Customizations
- Vegan Option: Use almond butter or sunflower seed butter instead of peanut butter.
- Gluten-Free: This recipe is naturally gluten-free, but be sure to check your nori and peanut butter for any hidden gluten.
- For a Sweet Touch: Add a drizzle of maple syrup or a sprinkle of cinnamon for an added layer of flavor.
Storage and Reheating Instructions
- Keep any leftover rolls in an airtight container in the refrigerator for up to 2 days.
- To maintain the texture, consume them fresh as the nori may become soggy over time.
- If you wish to reheat, avoid microwaving the rolls as this will make the nori chewy and the banana mushy.

Serving Suggestions
- Serve with a side of fresh fruit, such as berries or apple slices, for a balanced snack.
- Pair with a chilled coconut drink or iced green tea to complement the light, refreshing nature of the dish.
Frequently Asked Questions
What ingredients are needed?
You’ll need ripe bananas, peanut butter (smooth or crunchy), nori sheets, and your choice of toppings (granola, coconut, nuts, etc.).
How do I prepare this dish?
Start by peeling and slicing the banana, then spread peanut butter over each piece and add your toppings. Roll each piece in nori and slice into bite-sized pieces.
What tools are required?
A sharp knife for slicing, a butter knife or spoon for spreading peanut butter, and a sushi mat or towel for rolling (optional).
Can I make this ahead of time?
Yes, you can prepare the banana sushi rolls in advance. However, they’re best consumed the same day to maintain the fresh texture.
How do I store leftovers?
Place any leftovers in an airtight container and refrigerate for up to 2 days.
What are some common variations?
Try using almond butter, adding chocolate chips, or incorporating different toppings like chia seeds or dried fruit.
Can I substitute certain ingredients?
Yes, you can substitute peanut butter with almond butter, or use a different fruit like strawberries or apples instead of bananas.
How long does it take to cook?
There’s no cooking required! This is a no-bake recipe that takes only 10-15 minutes to prepare.
What should I serve with this dish?
Banana sushi pairs well with fresh fruit, tea, or even a light salad for a refreshing meal or snack.
Is this recipe suitable for special diets?
Yes! It’s gluten-free and can easily be made vegan by substituting peanut butter with another nut butter
Conclusion: A Delicious Intersection of Tradition and Modernity
Banana Sushi Roll with Peanut Butter is a creative and fun twist on traditional sushi, combining healthy bananas with the richness of peanut butter and the crunch of nori. This recipe is quick to prepare, customizable with a variety of toppings, and offers a delightful balance of sweet and savory flavors. Whether you’re looking for a snack, a light dessert, or something unique to share with friends, this dish fits the bill. Plus, it’s a great way to enjoy a healthier version of sushi, with no cooking required!
Call to Action
Ready to make this delicious Banana Sushi Roll with Peanut Butter? Give it a try and let us know how it turns out! We’d love to hear your creative twists, helpful tips, and serving suggestions in the comments below.

