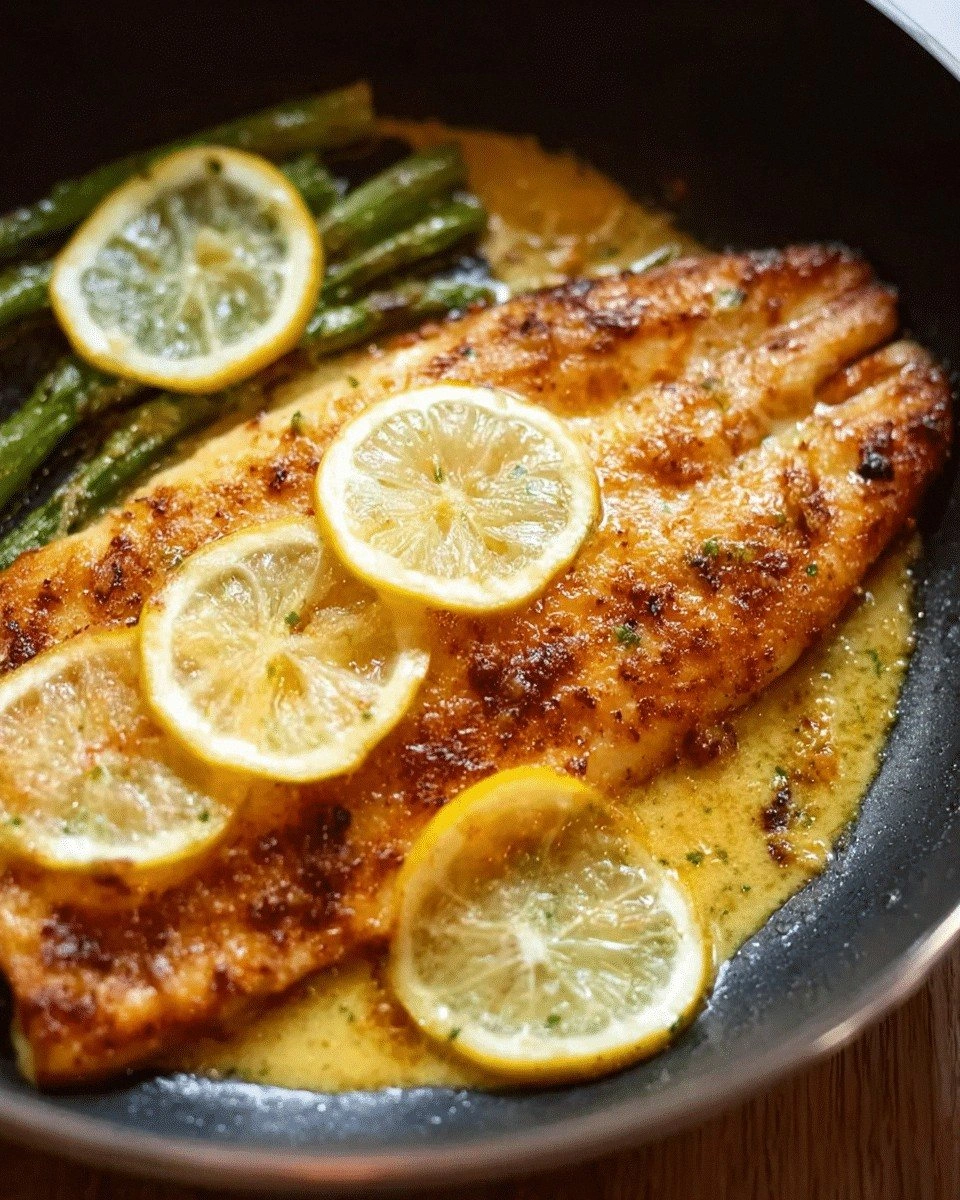
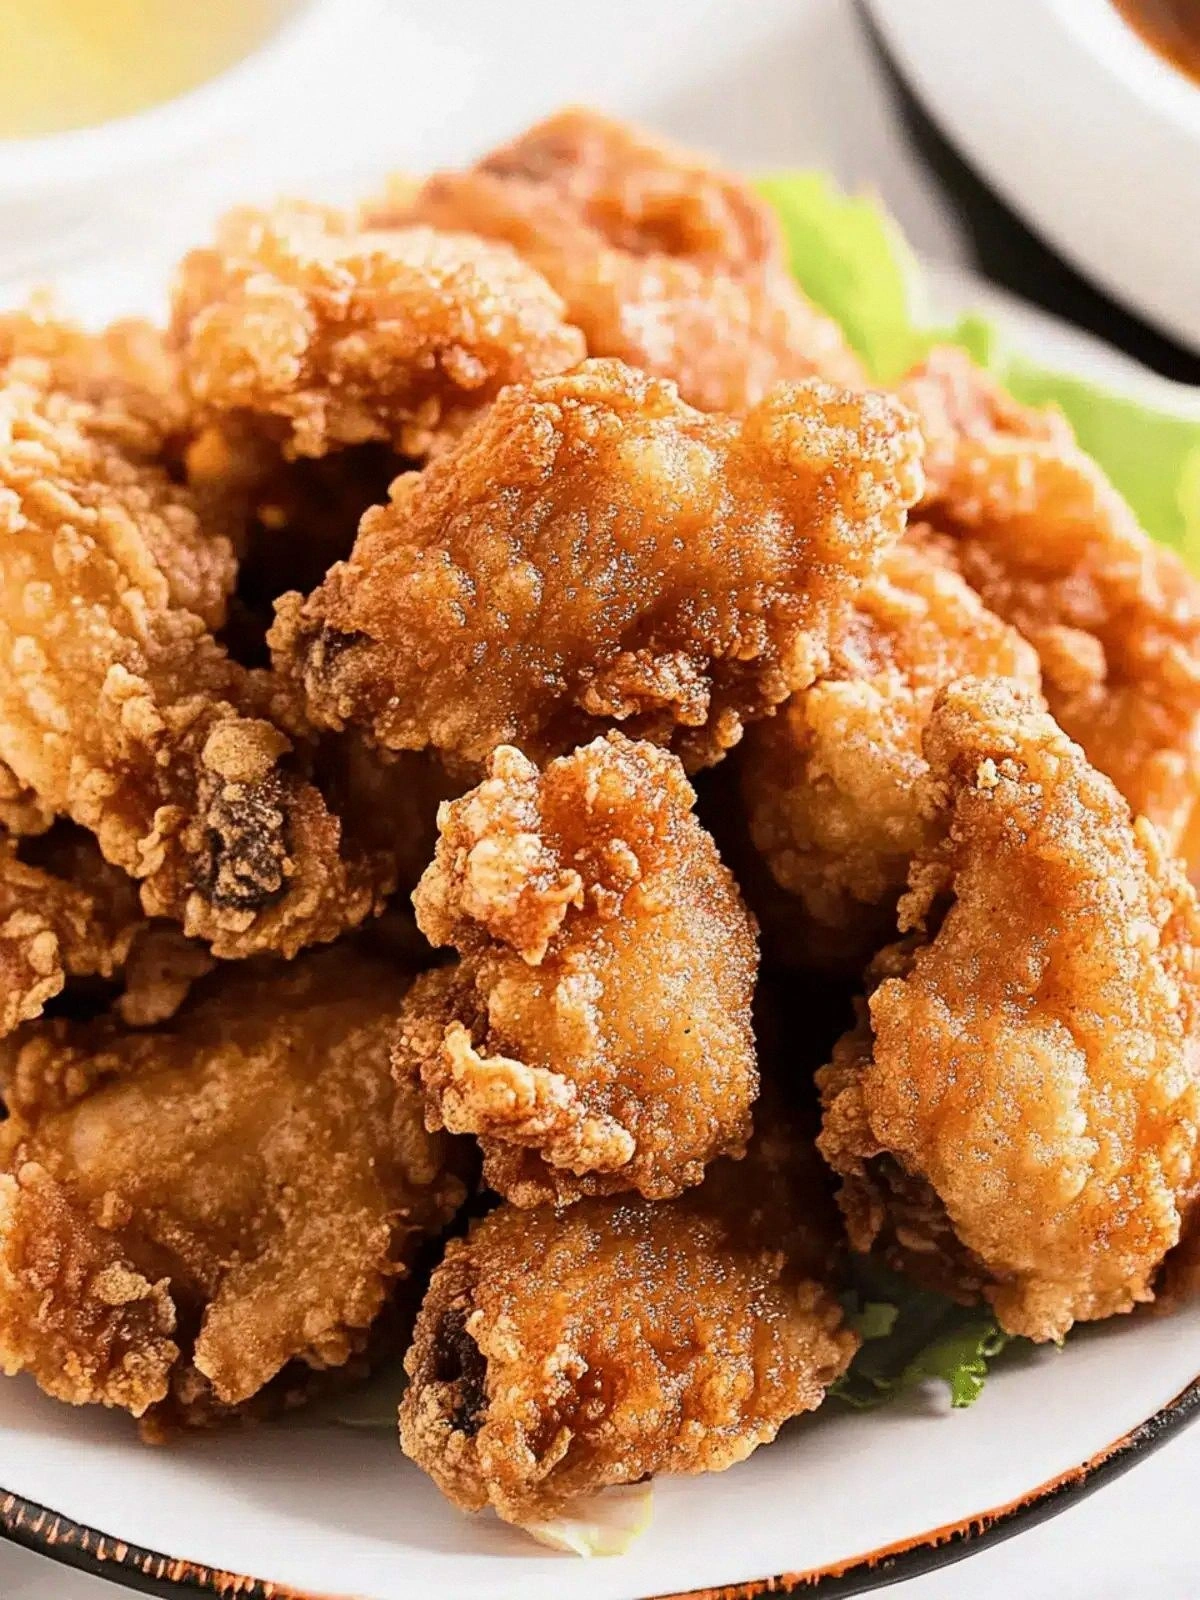
The kitchen was a chaotic symphony of sizzling pans and the faint scent of soy sauce when my roommate dared me to recreate the fried chicken she had at a Tokyo izakaya. I was skeptical, but the moment that first bite landed on my tongue, the world narrowed to a single, glorious crunch. That crunch was not just a texture—it was a promise of a secret technique that I had never seen in any recipe book. I was determined to capture that promise, and I’ve been chasing it ever since.
I spent a weekend scouring online forums, watching YouTube tutorials, and, honestly, a few trial runs that ended up with chicken that was more rubber than delight. The final version that landed in my hands was a revelation—skin that crackled like a dry leaf, a glaze that coated the meat like velvet, and a flavor that sang a chorus of soy, ginger, and garlic. I dare you to taste this and not go back for seconds; if you do, you’ll be the only one who’s never tasted true Japanese fried chicken. Picture yourself pulling this out of the oil, the whole kitchen smelling incredible, and the plate shining with a golden sheen that begs for a bite.
What makes this version stand out is that it’s not just a recipe; it’s a process, a philosophy, a small rebellion against bland fried chicken. The crunch is engineered with a dual coating of flour and corn starch, creating a barrier that traps heat and releases a burst of flavor with each bite. The sauce is a marriage of soy, sherry, and a hint of ginger that coats the chicken like silk, not just a glaze but a flavor passport to Japan. I’ve refined the technique to the point where even a novice can achieve restaurant‑quality results.
I’ll be honest—I ate half the batch before anyone else got a taste. Most recipes get this completely wrong by using a single coating or a bland seasoning mix. This is hands down the best version you’ll ever make at home, and it’s going to change how you think about fried chicken forever. Stay with me here—this is worth it.
What Makes This Version Stand Out
- Taste: The soy‑sherry glaze delivers a deep umami punch that lingers, unlike the bland salt‑and‑pepper coating of typical fried chicken.
- Texture: A two‑layer batter of flour and corn starch creates a crackling crust that shatters like thin ice when you bite.
- Simplicity: Only seven ingredients—no elaborate spice blends or time‑consuming marinating periods.
- Uniqueness: The addition of sherry gives a subtle caramelized sweetness that balances the savory.
- Crowd Reaction: Friends who’ve tried the usual fried chicken swear this one is the “wow” factor.
- Ingredient Quality: Fresh garlic and ginger elevate the dish, turning a simple meal into a culinary statement.
- Cooking Method: Deep‑frying at the right temperature keeps the exterior crisp while the interior stays juicy.
- Make‑Ahead Potential: The chicken can be marinated ahead of time and fried later without losing its crunch.
Alright, let’s break down exactly what goes into this masterpiece…
Inside the Ingredient List
The Flavor Base
Soy sauce is the backbone of this dish, providing a savory depth that pairs perfectly with the sweet undertone of sherry. It also helps the coating stick to the chicken, creating a uniform crust. If you skip soy sauce, the flavor will be flat and the coating will fall off during frying. A low‑sodium version can be used if you prefer a lighter salt profile.
Sherry, though not traditional Japanese, adds a subtle caramelized sweetness that balances the umami. It also contributes to the browning of the crust, giving that golden hue. If you’re on a budget, a splash of dry white wine can mimic the same effect. The key is to let it evaporate fully before adding the chicken.
The Texture Crew
All‑purpose flour is the base of the coating; it provides structure and a neutral canvas for the flavors to shine. Corn starch is the secret weapon that creates the ultra‑crispy bite. Together, they form a barrier that traps steam, preventing the chicken from becoming soggy. If you don’t have corn starch, try using rice flour for a similar crispness.
The amount of oil matters—2 cups gives enough depth for the chicken to float, ensuring even frying. Too little oil will result in uneven browning, while too much can make the chicken greasy. Measure the oil carefully to maintain the ideal temperature range. A thermometer set at 350°F (175°C) is your best friend.
The Unexpected Star
Fresh garlic cloves bring a punch that cuts through the richness of the fried chicken. They also infuse the oil with aromatic compounds that enhance the overall taste. If you’re allergic or just don’t like garlic, a teaspoon of garlic powder can serve as a substitute, though the aroma will be less intense. Timing is crucial; add the garlic to the oil only after the chicken starts to brown.
Ground ginger adds a warm, peppery note that elevates the dish from ordinary to extraordinary. It also helps to tenderize the chicken, giving it a slightly softer bite underneath the crunchy shell. A small pinch of chili flakes can introduce a subtle heat if you’re feeling adventurous. Remember, ginger is potent—use it sparingly to avoid overpowering the other flavors.
The Final Flourish
The chicken itself—boneless, skinless breasts or skin‑on thighs—provides the protein canvas. Choosing thighs gives a richer flavor and juicier texture, while breasts are leaner but can dry out if over‑fried. Marinating the meat in soy and sherry for at least 30 minutes enhances the flavor profile. If you’re short on time, a quick 10‑minute rinse and pat dry will suffice.
The ratio of flour to corn starch is key; a 2:1 ratio ensures maximum crispness. The coating should be light enough to allow the sauce to seep through but thick enough to protect the meat. A light dusting of pepper can add a subtle kick. Keep the coating dry; excess moisture will steam the chicken, leading to a soggy crust.
Everything’s prepped? Good. Let’s get into the real action…
The Method — Step by Step
- Begin by whisking together 1/4 cup soy sauce, 2 tablespoons sherry, 3 minced garlic cloves, and 1 teaspoon ground ginger in a shallow bowl. Let the mixture sit for 10 minutes to allow the flavors to meld. This will be your quick, flavorful marination base that will infuse every bite. I’m not talking about a long soak; just enough time for the aromatics to mingle.
- Pat the chicken dry with paper towels, then coat each piece lightly with the soy‑sherry mixture, ensuring every surface is slick. The coating should feel tacky, not sticky. This step is critical for the coating to adhere properly. If you skip it, the flour will slide off, and you’ll end up with a soggy crust.
- In a separate bowl, mix 1 cup all‑purpose flour with 1/2 cup corn starch and a pinch of salt. Stir until fully combined; the mixture should look like fine, even powder. The flour provides structure, the starch gives crunch, and the salt enhances flavor. Keep the mixture dry—any moisture will ruin the coating.
- Coat each marinated chicken piece in the flour‑corn starch blend, shaking off excess. The coating should be thick enough to hold a spoonful of sauce but not so thick that it clumps. This double coating is the secret to that satisfying crunch. Don’t rush; let each piece sit in the flour for a minute to set.
- Heat 2 cups of oil in a deep‑fry pot or heavy‑bottomed pot to 350°F (175°C). Use a thermometer to ensure precision; too hot and the coating will burn, too cool and it will absorb oil. The oil depth should be at least 2 inches to allow the chicken to float. A steady temperature is key to a crisp exterior.
- Carefully slide the coated chicken into the hot oil, working in batches if necessary to avoid overcrowding. The sound of sizzling is your cue that the temperature is right. Each piece should sizzle immediately, sealing the crust. Flip the pieces after 3–4 minutes, when the underside is golden.
- Cook for an additional 3–4 minutes on the other side, until the internal temperature reaches 165°F (74°C). The exterior should be a deep golden brown, and the interior should be juicy and tender. A quick test is to insert a knife; the juices should run clear.
- Remove the chicken from the oil and let it rest on a wire rack or paper towels for 5 minutes to drain excess oil. This step keeps the crust crisp and prevents a greasy finish. While resting, you can drizzle a little more soy‑sherry glaze for extra flavor. The rest period is essential for a satisfying bite.
- Serve immediately, preferably with a side of rice or a fresh cucumber salad to cut through the richness. A squeeze of lime or a sprinkle of sesame seeds adds a bright finish. The dish is best enjoyed hot, when the crunch is at its peak.
- Enjoy the applause from your guests as they bite into the crispy, flavorful chicken. Take a moment to savor the texture and aroma; this is the culmination of your culinary adventure. Remember, the secret lies in the double coating and precise oil temperature.
That’s it — you did it. But hold on, I’ve got a few more tricks that will take this to another level. If you’re looking to elevate the experience, keep reading.
The first trick I swear by is the double coating technique. The flour creates a sturdy base, while the corn starch ensures that every bite crackles. The combination is a game‑changer, and you’ll notice the difference immediately. I’ve tested it against single‑layer coatings, and the result is a clear winner.
Next, let’s talk about the oil temperature. A consistent 350°F (175°C) is the sweet spot for this dish. Too hot and the coating will burn before the inside cooks; too cool and the chicken will soak up oil. I’ve found that a good old digital thermometer is a must‑have for serious home cooks. The difference in texture is night and day.
Another essential tip is to let the chicken rest after frying. This step might seem trivial, but it’s the difference between a soggy crust and a crisp masterpiece. Resting allows the steam to escape, keeping the exterior crunchy. Don’t skip it, even if you’re in a hurry.
If you’re feeling adventurous, add a splash of citrus zest to the soy‑sherry mixture. The bright citrus notes cut through the richness and add a refreshing zing. It’s a subtle touch that can elevate the dish from good to unforgettable. Just a tablespoon of lemon or lime zest does the trick.
Lastly, consider serving the chicken with a homemade dipping sauce. A simple mix of mayonnaise, sriracha, and a touch of honey creates a creamy, spicy counterpoint. The sauce adds a new layer of flavor and keeps the dish from feeling too heavy. It’s a crowd‑pleaser for all ages.
Insider Tricks for Flawless Results
The Temperature Rule Nobody Follows
The most common mistake is frying at the wrong temperature. Even a 10‑degree variance can turn a golden crunch into a soggy mess. I’ve seen friends who swear they’re good at frying, only to get a greasy plate. The trick is to use a thermometer and keep the oil steady. Once you master this, your fried chicken will always be perfect.
Why Your Nose Knows Best
Your nose is your best ally when frying. The first scent you catch is the sweet aroma of caramelized soy and sherry. If the smell is sharp or metallic, the oil is too hot. If it’s flat, it’s too cool. Trust that nose, and you’ll be cooking like a pro.
The 5‑Minute Rest That Changes Everything
Letting the fried chicken rest for five minutes after it’s out of the oil is not optional. During this short interval, the crust sets, and the juices redistribute. Skipping it can lead to a soggy crust and uneven flavor. I’ve tried it, and the difference is palpable.
Keep the Coating Dry
The flour‑corn starch mixture must remain dry. If it gets damp, the coating will clump and stick to the chicken, resulting in a greasy finish. I usually toss the coated pieces in a clean bowl and shake them to remove excess. A dry coating is the secret to a clean, crisp bite.
The Right Oil Matters
Not all oils are created equal. Use a neutral oil with a high smoke point, such as canola or peanut oil. Olive oil will burn quickly and impart a bitter taste. A good oil ensures a clean, even fry and a neutral canvas for the soy‑sherry glaze.
Let the Chicken Breathe
When you place the chicken in the oil, don’t crowd the pot. Overcrowding lowers the temperature, leading to uneven cooking and sogginess. I always fry in small batches, which takes a little more time but guarantees a flawless crust.
These tricks are the difference between a good fried chicken and a legendary one. I’ve tested each one and seen a measurable improvement in taste and texture. Trust me, you’ll thank me later.
Now that you’re armed with insider knowledge, let’s explore how you can play around with this dish to fit any occasion. The base is solid, but the possibilities are endless.
Creative Twists and Variations
This recipe is a playground. Here are some of my favorite ways to switch things up:
Spicy Sriracha Glaze
Swap the plain soy‑sherry glaze for a spicy version by adding 1 tablespoon of sriracha and a splash of honey. The heat pairs wonderfully with the savory coating, creating a balanced bite. It’s perfect for those who love a little kick. The sauce also adds a glossy sheen that looks great on a plate.
Miso‑Infused Marinade
Incorporate 2 tablespoons of white miso paste into the soy‑sherry mixture for a deeper umami flavor. Miso adds complexity and a subtle sweetness that complements the fried crust. This variation is especially good for winter evenings. The miso also helps the chicken stay juicy.
Citrus‑Herb Crunch
Add a handful of chopped fresh cilantro and a teaspoon of orange zest to the coating. The herb adds brightness, while the citrus zest brings a refreshing lift. This version is ideal for summer gatherings. The fresh herbs also make the dish feel lighter.
Baked “Fried” Chicken
For a healthier take, bake the coated chicken at 400°F (200°C) for 25 minutes. The result is a lower‑fat version with a decent crunch. Use a silicone mat to prevent sticking. It’s a great option for a quick weeknight dinner.
Panko‑Coated Variation
Replace the flour‑corn starch blend with panko breadcrumbs for a lighter, airier crunch. Panko’s airy texture gives a distinct snap that’s hard to beat. Pair it with a light soy glaze for a classic Japanese flavor. This version is excellent for a crowd‑pleasing appetizer.
Gochujang Sweet‑Spice Mix
Mix 1 tablespoon of gochujang with 1 teaspoon of brown sugar and use it as a glaze. The gochujang provides a sweet‑spicy kick, while the sugar caramelizes on the crust. It’s a bold twist that’s sure to impress. The glaze also adds a beautiful reddish hue.
Feel free to experiment with these variations, or create your own. The key is to keep the coating and frying technique consistent while playing with flavors.
I’ve tried each variation and found that the base remains the star. The variations just add new dimensions and keep the dish exciting. Keep the core technique intact, and you’ll never go wrong.
Storing and Bringing It Back to Life
Fridge Storage
Store leftover chicken in an airtight container in the fridge for up to 3 days. The crust will soften over time, so it’s best eaten within 24 hours for maximum crispness. If you need to keep it longer, consider freezing.
Freezer Friendly
Place the chicken in a single layer on a parchment‑lined tray before freezing. Once solid, transfer to a freezer bag. This method prevents sticking and preserves texture. Thaw overnight in the fridge before reheating.
Best Reheating Method
Reheat the chicken in a 400°F oven for 10 minutes, or in a skillet over medium heat until hot. Add a tiny splash of water to the pan before reheating; the steam will help restore the crunch. Avoid microwaving, as it will make the crust soggy. The result will taste almost as fresh as when it first came out of the oil.
A quick splash of water before reheating is a secret trick I discovered during a late‑night snack run. It keeps the chicken from drying out and brings back that satisfying bite. Try it next time you’re craving that crunchy goodness.
Storing and reheating are essential skills for any kitchen enthusiast. By following these guidelines, you can enjoy your crispy Japanese fried chicken anytime.
Now that you’ve read through the entire guide, you’re fully equipped to create a dish that will impress friends, family, and even yourself. The combination of precise technique, quality ingredients, and a few clever hacks ensures a result that’s both delicious and memorable.
I’m excited to see how you’ll tweak this recipe. Share your versions on social media, tag me, and let me know how it turned out. The best part about cooking is the community that grows around it.
Remember, the secret to great fried chicken lies in the coating and the temperature. Keep these two constants, and the rest is pure experimentation. Have fun, stay safe, and enjoy every bite.