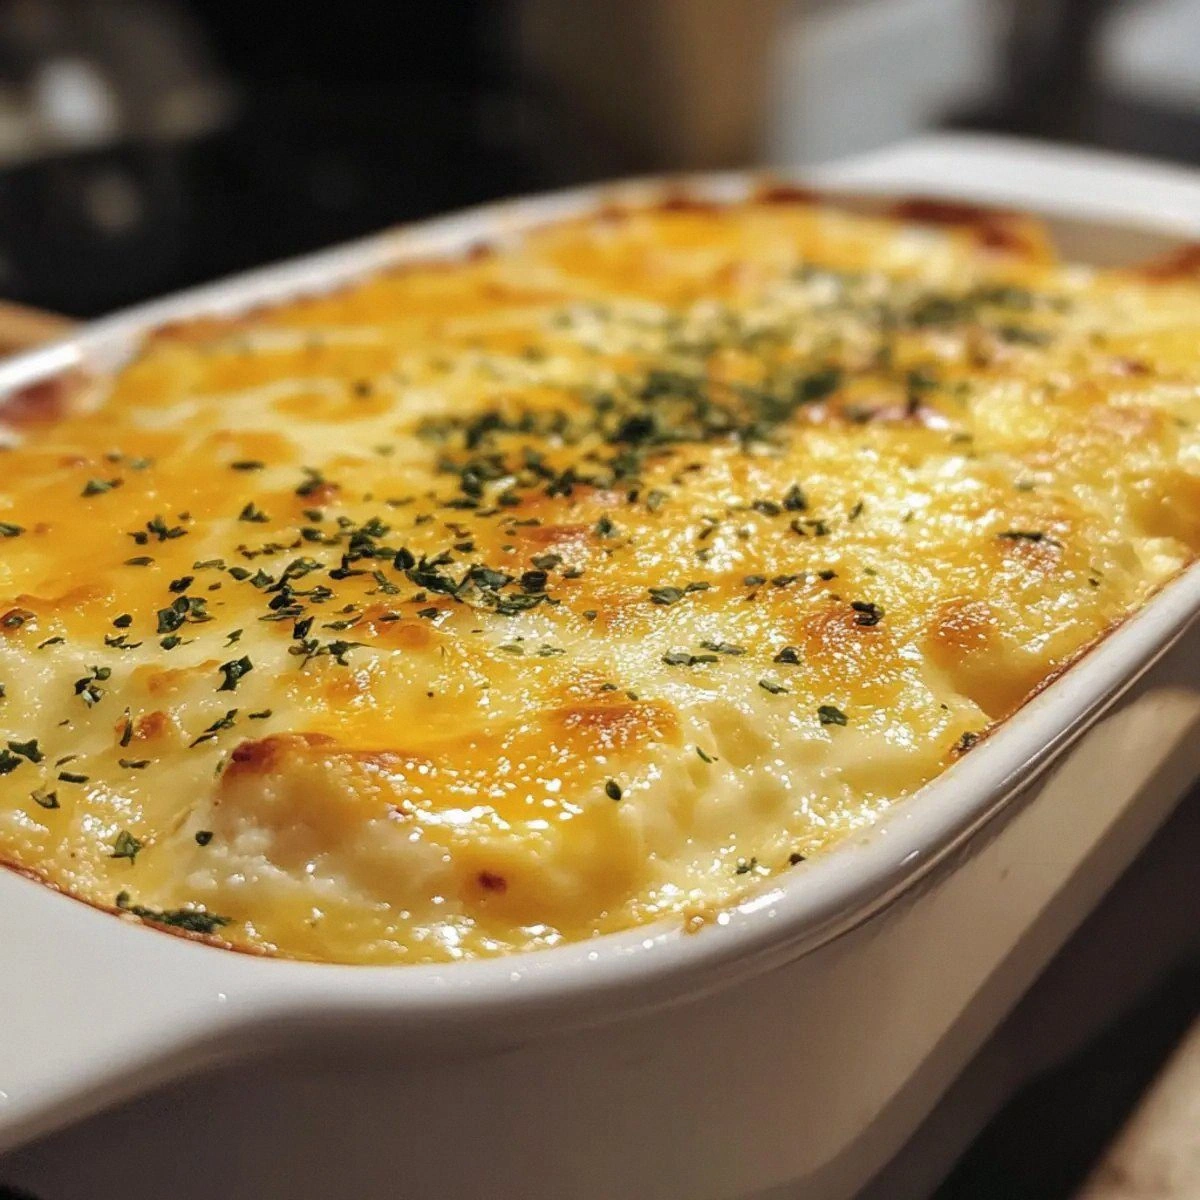
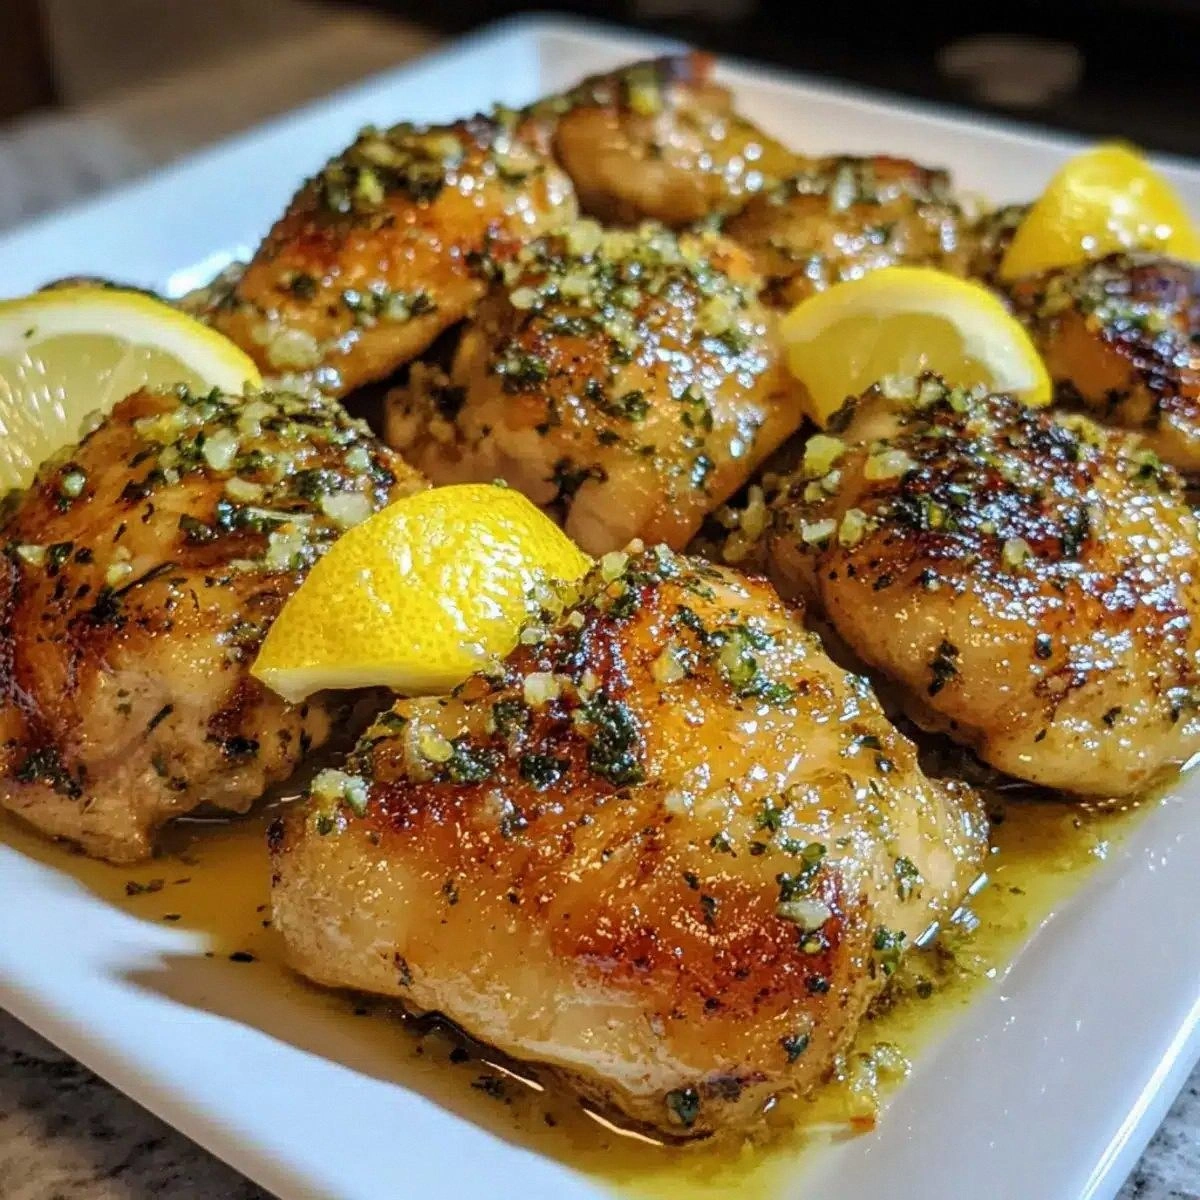
Picture yourself pulling this out of the oven, the whole kitchen smelling incredible, a golden crust that crackles under the fork. The first bite feels like a burst of sunshine on a cloudy day, with the lemon cutting through the richness of the chicken. The garlic adds a deep, earthy undertone that balances the brightness, and the red pepper flakes give a subtle kick that lingers. I’ll be honest—I ate half the batch before anyone else got to try it, and the second half was even better. And now the fun part, the part that turns a simple dinner into a showstopper, is just a few steps away. Let me walk you through every single step—by the end, you’ll wonder how you ever made it any other way.
Okay, ready for the game‑changer? The next section breaks down why this version is a culinary revelation. I’ll point out the secrets that most people miss, from the timing of the sear to the final flourish of herbs. If you’ve ever struggled with chicken that turns out dry or too greasy, you’re not alone—and I’ve got the fix. I dare you to taste this and not go back for seconds. This is the moment you’ll realize that a few simple tweaks can elevate your dish from ordinary to unforgettable.
What Makes This Version Stand Out
- Flavor: The citrusy brightness of lemon cuts through the richness of the chicken, while the garlic provides depth. The sauce coats the meat like velvet, leaving every bite saturated with flavor.
- Texture: The skin crisps to a golden‑brown perfection, while the meat stays succulent and tender. The contrast is a delightful play of crunch and melt.
- Simplicity: No complicated marinades or multi‑step preparations—just a few pantry staples and a short prep time.
- Ingredient Quality: Fresh, high‑quality garlic and lemons make the difference. The oil should be a good extra‑virgin olive oil for maximum aroma.
- Crowd Reaction: Friends and family ask for the recipe after the first bite, and you’re the hero of the dinner table.
- Make‑Ahead Potential: The dish can be prepared in advance and reheated without losing its crispness.
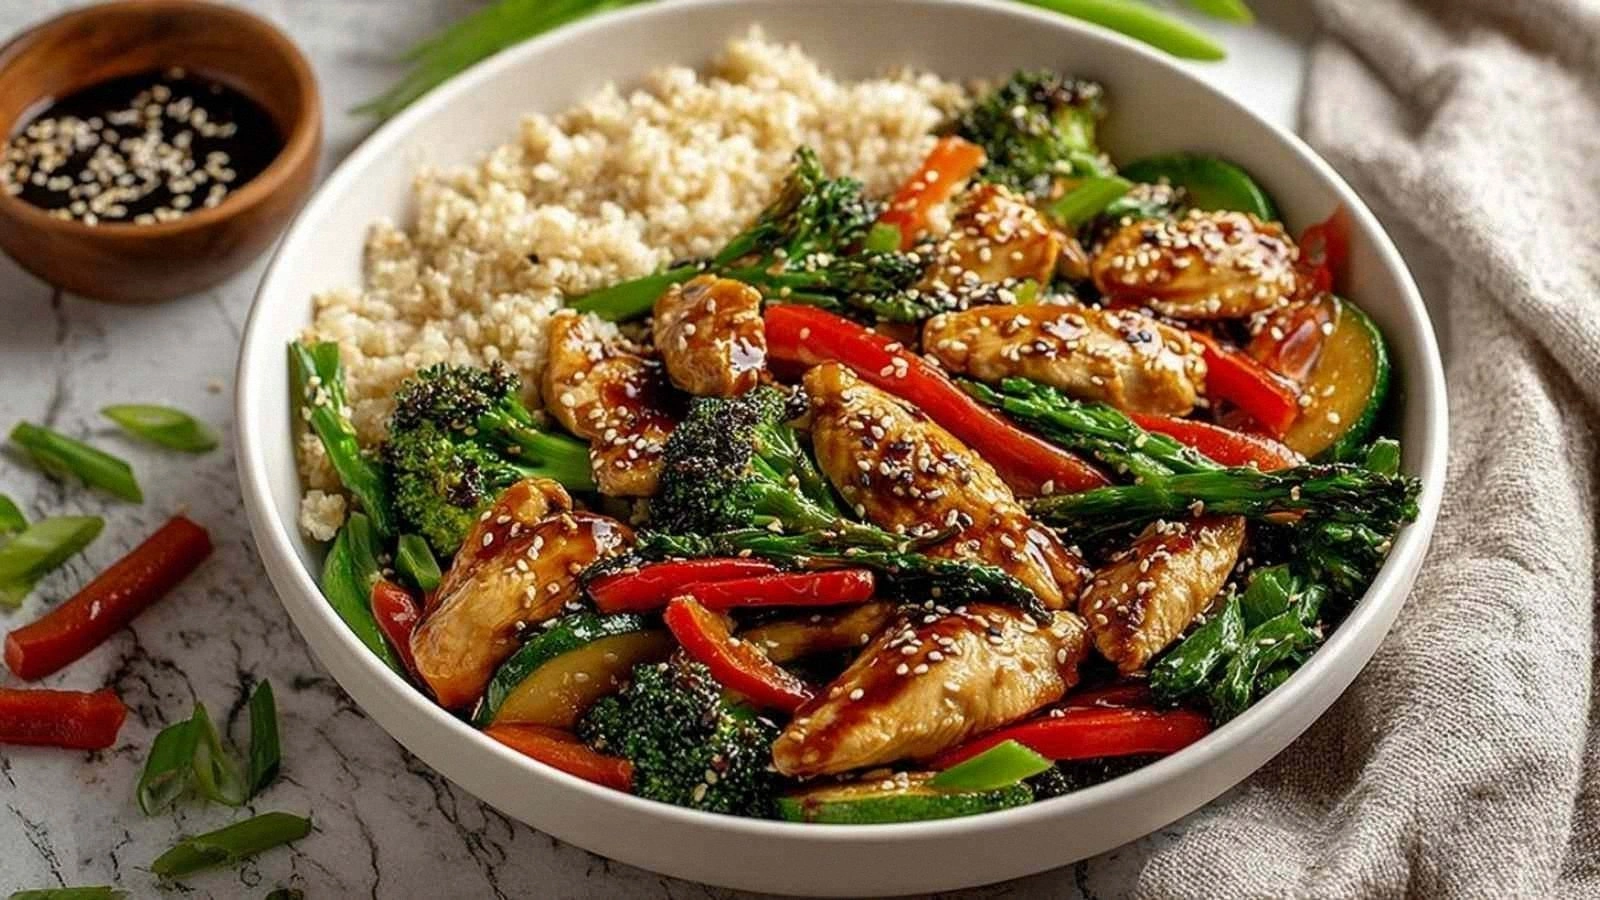
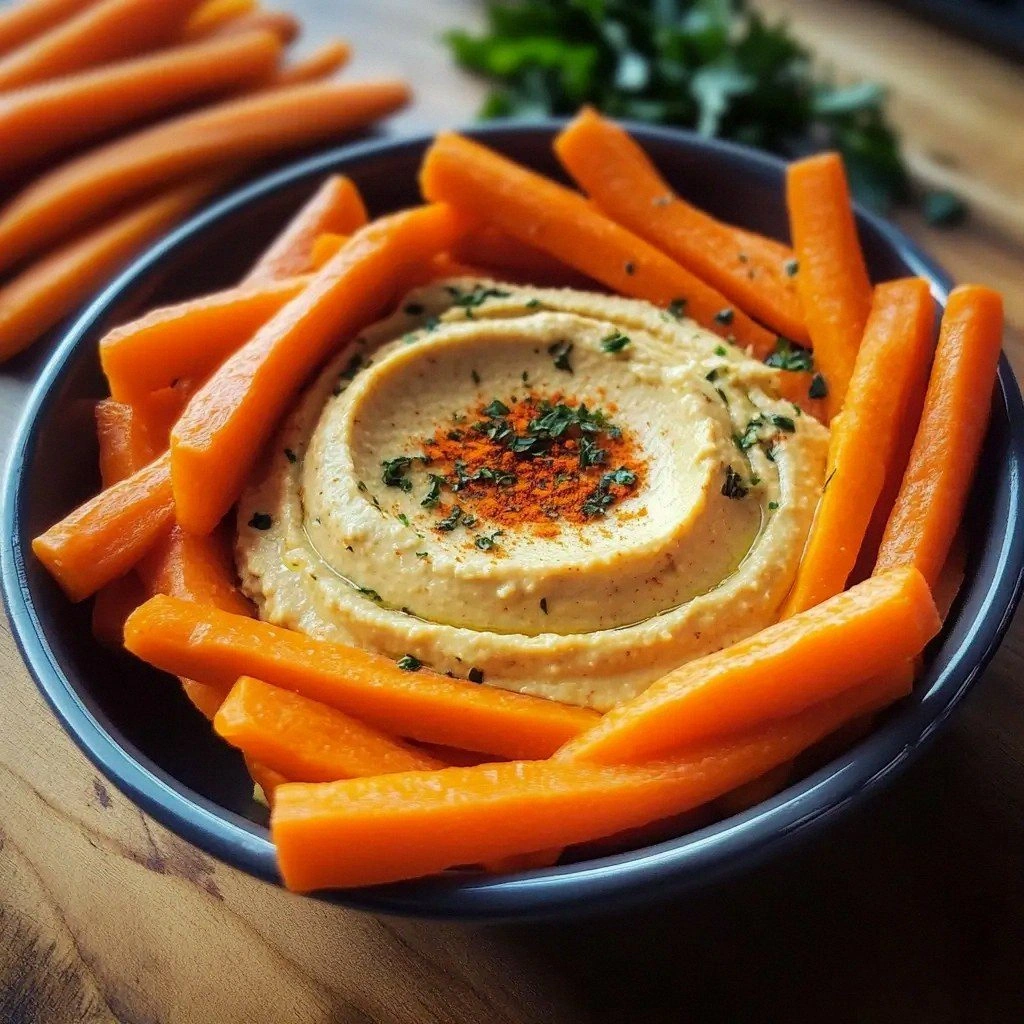
- Versatility: Pair it with rice, pasta, roasted veggies, or a simple salad—every pairing works.
Alright, let's break down exactly what goes into this masterpiece…
Inside the Ingredient List
The Flavor Base
Fresh lemon juice is the star that gives this dish its signature brightness. It not only brightens the sauce but also helps tenderize the chicken by breaking down proteins. If you’re out of fresh lemons, bottled lemon juice will work, but it’s less vibrant. A squeeze of fresh lemon after cooking adds a final pop of acidity that balances the richness.
The Texture Crew
Chicken thighs, bone‑in and skin‑on, are chosen for their natural fat content and connective tissue. The skin becomes a crispy canvas that holds the juices inside, while the meat stays moist and flavorful. If you prefer boneless thighs, reduce the cooking time by a few minutes to avoid drying out the meat.
The Unexpected Star
Crushed garlic cloves add a deep, earthy flavor that cuts through the lemon’s brightness. Crushing garlic releases more allicin, the compound responsible for its pungent aroma. If you’re sensitive to raw garlic, lightly sauté the cloves before adding the lemon to mellow their intensity.
The Final Flourish
Fresh herbs like thyme or parsley provide a fragrant, herbal note that completes the dish. The herbs also add a touch of color and freshness. If you don’t have fresh herbs, dried thyme can be used, but it won’t have the same bright aroma. A pinch of red pepper flakes gives a subtle heat that lingers on the palate.
Everything's prepped? Good. Let's get into the real action.
The Method — Step by Step
- Preheat your cast‑iron skillet over medium‑high heat for at least five minutes. The pan must be hot enough that the chicken sizzles immediately upon contact. This creates a beautiful crust and prevents sticking. If you’re using a non‑stick pan, lower the heat slightly to avoid burning.
- Season the chicken thighs generously with salt, black pepper, and a pinch of red pepper flakes. Pat the skin dry with paper towels to ensure maximum crispness. The seasoning will seep into the meat, enhancing flavor from the inside out. Don’t be shy—this is where the dish starts to sing.
- Add a tablespoon of olive oil to the pan and swirl to coat the surface. Place the chicken thighs skin‑side down and let them cook untouched for 6–7 minutes. The skin should release a crackling sound and develop a golden‑brown hue. Avoid moving the chicken early; patience is key to crisp skin.
- Flip the thighs and add the crushed garlic cloves around the edges. The garlic will toast lightly, releasing its aroma. Let it cook for about 2 minutes until fragrant, but watch it closely—garlic can burn quickly and turn bitter. This step sets the foundation for the sauce.
- Pour the fresh lemon juice over the chicken, letting it bubble up and coat the meat. The acidity will help render the fat from the skin, creating a silky glaze. Stir gently to mix the lemon with the garlic and oil, forming a cohesive sauce. The aroma should be citrusy and savory, a promise of what’s to come.
- Reduce the heat to medium and let the chicken cook for another 8–10 minutes, turning occasionally. The internal temperature should reach 165°F (74°C). The sauce should thicken slightly, glistening on the chicken. This is the moment of truth—if you’re unsure, use a meat thermometer to confirm doneness.
- Once cooked, transfer the thighs to a cutting board and let them rest for five minutes. Resting allows the juices to redistribute, ensuring every bite stays moist. While resting, sprinkle fresh herbs over the chicken for a burst of color and aroma. The herbs will add a fresh contrast to the rich sauce.
- Slice the thighs against the grain if you prefer smaller pieces, or serve whole for a dramatic presentation. Drizzle the remaining sauce over the chicken, making sure every piece is coated. The final dish should look appetizing, with a glossy, citrus‑laden glaze and a crispy skin.
That's it — you did it. But hold on, I've got a few more tricks that'll take this to another level. These insider tips are the difference between a good dish and a memorable one.
Insider Tricks for Flawless Results
The Temperature Rule Nobody Follows
Many people think a high heat is always better, but for chicken thighs, a controlled medium heat preserves moisture. Start with a hot pan, then lower the heat after searing. This prevents the exterior from burning while the interior stays juicy. I’ve seen too many people burn the skin and end up with dry meat.
Why Your Nose Knows Best
Smell the sauce as it simmers. If it starts to smell slightly caramelized, it’s almost ready. The aroma is a reliable indicator of flavor development. Trust your nose; it’s your best ally in the kitchen.
The 5‑Minute Rest That Changes Everything
Letting the chicken rest is not just a suggestion; it’s essential. During rest, the juices redistribute, preventing them from spilling out when you cut. This keeps the meat moist and tender. I’ve always kept a timer to remind myself not to skip this step.
Use Fresh Herbs for a Burst of Color
Chopped thyme or parsley sprinkled over the finished dish adds a pop of green and a fresh herbal note. It also enhances visual appeal, making the dish look restaurant‑ready. If you’re short on time, a pinch of dried herbs works, but fresh is best.
Keep the Sauce from Splattering
When adding lemon juice, pour it slowly over the chicken rather than dumping it in. This reduces splatter and helps the sauce cling to the meat. A slow pour also gives you a chance to adjust the amount if needed.
Creative Twists and Variations
This recipe is a playground. Here are some of my favorite ways to switch things up:
Spicy Thai Twist
Swap red pepper flakes for a splash of Thai chili paste. Add a tablespoon of fish sauce for umami depth. Finish with a sprinkle of crushed peanuts for crunch. This version pairs beautifully with jasmine rice.
Herb‑Infused Mediterranean
Replace the garlic with sun‑dried tomatoes for a sweet, smoky flavor. Add oregano and rosemary for a Mediterranean vibe. Serve over couscous or a Greek salad for a complete meal.
Smoky BBQ Flavor
Incorporate a tablespoon of your favorite BBQ sauce into the lemon glaze. Add a pinch of smoked paprika for a subtle smokiness. The result is a sweet, tangy, and slightly smoky chicken that’s a crowd‑pleaser.
Asian Fusion
Replace lemon juice with a mix of rice vinegar and a splash of soy sauce. Add a dash of sesame oil for aroma. Garnish with sliced scallions and toasted sesame seeds. This version is perfect over steamed rice or noodles.
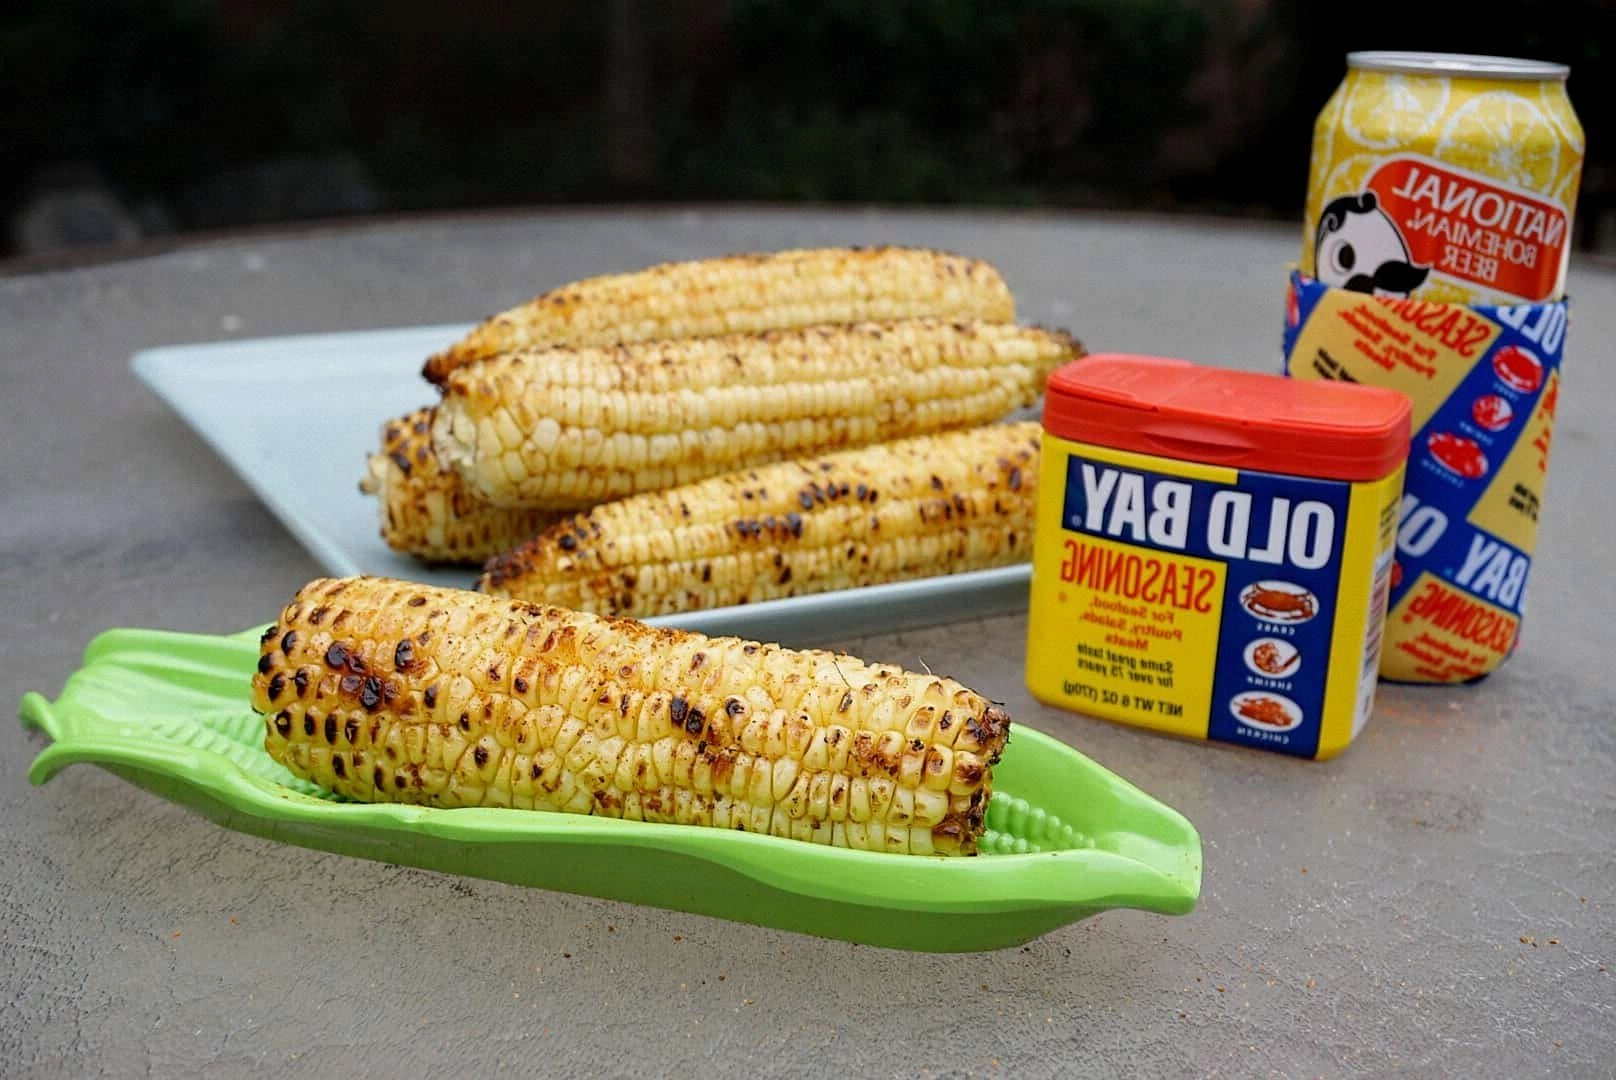
Roasted Veggie Medley
Serve the chicken alongside a medley of roasted root vegetables—carrots, parsnips, and sweet potatoes. Toss the veggies in olive oil, salt, and pepper before roasting. The caramelized vegetables complement the citrusy chicken wonderfully.
Breakfast‑Style Brunch
Serve the chicken with a side of fluffy scrambled eggs and toasted sourdough. Add a splash of hot sauce for an extra kick. This makes for a hearty, protein‑rich brunch that feels indulgent.
Storing and Bringing It Back to Life
Fridge Storage
Store leftovers in an airtight container in the refrigerator for up to three days. Keep the sauce separate if you’re worried about soggy skin. When you’re ready to reheat, place the chicken on a baking sheet and warm in a 350°F oven for 10 minutes.
Freezer Friendly
Cool the chicken completely before freezing. Wrap each piece individually in parchment paper, then place in a freezer bag. The dish stays good for up to three months. Reheat in the oven, and it will taste just as fresh.
Best Reheating Method
To keep the skin crispy, reheat in a skillet over medium heat, adding a splash of water to create steam. Cover for a minute, then uncover to let the skin crisp again. A quick microwave step will dry out the meat, so avoid it if possible.