It was a rainy Saturday night, the kind where the kitchen feels like a stage and the only audience is the flickering flame of the gas stove. I had just opened a can of tuna, a jar of pickles, and a bottle of wine, and the only thing that could turn that into a culinary triumph was a sheet of fresh tilapia that had been sitting in the fridge since last Sunday. That fish, pale and unassuming, was about to become the star of a dish that would have my friends begging for a second plate. I dare you to taste this and not go back for seconds.
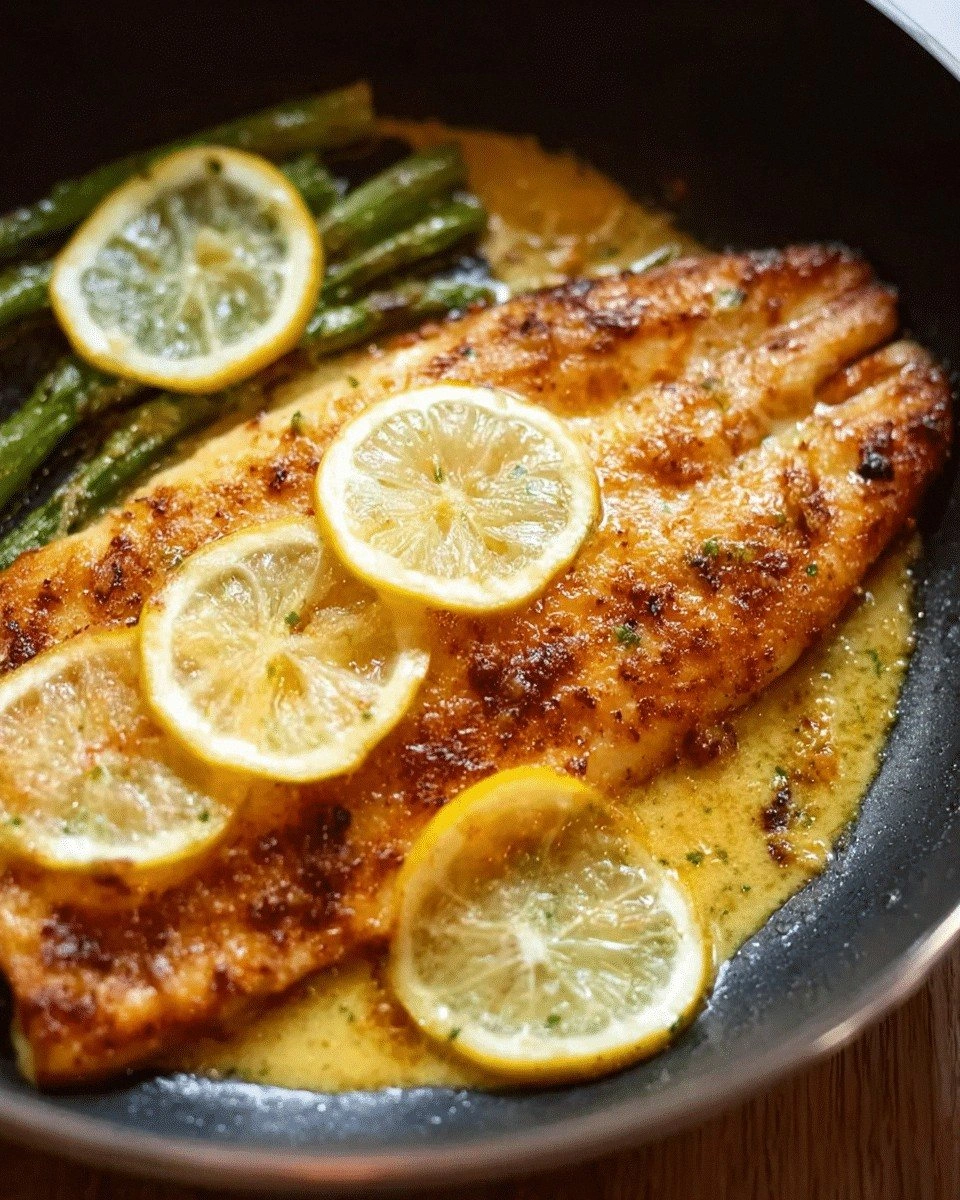
The moment the fillets hit the hot pan, a sizzling crackle erupted, filling the air with the scent of butter melting into a golden glaze. The sound was like a tiny orchestra, the crunch of the breadcrumb coating announcing its arrival before the first bite. The aroma rose like a promise: bright lemon, sharp garlic, and a hint of rosemary that danced on the edges of the flame. The texture was a play of crisp on the outside and tender, almost buttery, on the inside, a contrast that made every bite feel like a secret reveal. That sizzle when it hits the pan? Absolute perfection.
What makes this version of pan‑fried lemon butter tilapia stand out is not just the ingredients, but the way they interact, the subtlety of the butter‑lemon emulsion, and the quick, high‑heat technique that locks in moisture. I’ve spent years tweaking recipes, and this one is hands down the best version you’ll ever make at home. It’s the kind of dish that transforms a simple dinner into an experience, a moment of culinary joy that sticks in your memory. Picture yourself pulling this out of the pan, the whole kitchen smelling incredible, and the plate gleaming with a buttery sheen that invites you to dive in.
Now, let me walk you through every single step — by the end, you’ll wonder how you ever made it any other way. We’ll cover everything from the first sizzle to the final garnish, from the science of browning to the art of balancing citrus with rich butter. If you’ve ever struggled with getting the fillets crispy without overcooking, you’re not alone — and I’ve got the fix. So grab your skillet, your favorite fillets, and let’s get cooking.
What Makes This Version Stand Out
- Flavor: The lemon butter sauce coats the tilapia like velvet, providing a bright, citrusy tang that cuts through the richness of the butter and the mildness of the fish.
- Texture: The breadcrumb crust creates a crispy shell that shatters like thin ice, while the interior stays moist and flaky, delivering a satisfying bite.
- Ease: With only a handful of pantry staples, this recipe is a quick, no‑fuss dinner that can be prepared in under 30 minutes.
- Versatility: The dish can be served over rice, pasta, or a simple green salad, making it adaptable for any occasion.
- Crowd‑Pleaser: Even the most skeptical eaters rave about the buttery, citrusy finish and the delicate fish.
- Ingredient Quality: Using fresh, firm tilapia fillets and high‑quality butter elevates the dish to restaurant‑level flavor.
- Make‑Ahead Potential: The fillets can be pre‑marinated and stored in the fridge for up to 24 hours, saving you time on busy nights.
- Minimal Cleanup: A single skillet and a parchment‑lined baking sheet are all you need, so you can enjoy the meal without the post‑cooking hassle.
Alright, let’s break down exactly what goes into this masterpiece…
Inside the Ingredient List
The Flavor Base
At the heart of this dish is a simple yet potent sauce that marries the richness of butter with the brightness of lemon. The butter melts into a glossy emulsion, creating a silky coating that lingers on the fillets. Lemon juice and zest cut through that richness, adding a citrusy zing that lifts the entire flavor profile. If you skip the lemon, the dish will feel heavy and flat; the acidity is essential for balance.
The Texture Crew
Bread crumbs or a light flour dusting give the fillets a golden, crunchy exterior that snaps when you bite. The crumbs should be fine and lightly seasoned, so they don’t overpower the delicate fish. A pinch of salt and pepper on the crumbs enhances the savory undertones. If you prefer a gluten‑free version, use almond flour or crushed cornflakes instead.
The Unexpected Star
Garlic is the unsung hero here. Fresh minced garlic, sautéed just until fragrant, adds a depth that feels both familiar and exciting. Garlic’s natural sweetness complements the lemon, creating a harmonious duet. A small amount of white wine, if you’re feeling adventurous, can be deglazed into the pan after cooking to lift the browned bits, adding a subtle complexity.
The Final Flourish
Fresh parsley, chopped, is tossed in at the very end to add a burst of green freshness and a hint of herbal brightness. The parsley also provides a subtle contrast in color, making the dish visually appealing. A drizzle of extra‑virgin olive oil or a light splash of lemon juice can finish the plate, ensuring each bite is bright and clean.
Everything’s prepped? Good. Let’s get into the real action…
The Method — Step by Step
- Prep the fillets: Rinse the tilapia fillets under cold water and pat them dry with paper towels. Season both sides with salt, pepper, and a sprinkle of paprika for color. Let them rest at room temperature for 10 minutes; this helps them cook evenly.
- Set up the coating station: In a shallow dish, combine 1/2 cup of all‑purpose flour, 1/2 cup of finely ground breadcrumbs, a pinch of salt, and a dash of black pepper. In a second dish, beat 2 eggs and add a splash of water to help them bind. This double‑dip method ensures a crisp, airy crust.
- Coat the fish: Dip each fillet first into the flour mixture, shaking off excess. Then plunge it into the egg wash, allowing any excess to drip back into the bowl. Finally, coat it in the breadcrumb mixture, pressing gently to adhere.
- Heat the skillet: Place a 10‑inch non‑stick skillet over medium‑high heat and add 2 tablespoons of unsalted butter and 1 tablespoon of olive oil. Let the butter foam and turn a pale golden color; this indicates the pan is ready.
- Cook the fillets: Gently lay the coated fillets in the pan, skin side down if your fillets have skin. Cook for 3–4 minutes on each side, until the crust is golden brown and the fish flakes easily with a fork. The internal temperature should reach 145°F (63°C).
- Make the sauce: Remove the fillets and set them aside on a plate. Reduce the heat to medium and add the minced garlic to the pan, sautéing for about 30 seconds until fragrant. Pour in the juice of one lemon, a tablespoon of white wine (optional), and a splash of water to deglaze. Let it simmer for 2 minutes, scraping up any browned bits.
- Finish with butter: Lower the heat to low and stir in 2 tablespoons of cold butter, one piece at a time, letting each melt before adding the next. This creates a silky, glossy sauce that coats the fish beautifully.
- Plate and garnish: Return the fillets to the skillet, spooning sauce over them. Sprinkle chopped parsley and a wedge of lemon on top. Serve immediately with your choice of side.
That’s it — you did it. But hold on, I’ve got a few more tricks that’ll take this to another level, turning a simple dinner into a memorable feast.
Insider Tricks for Flawless Results
The Temperature Rule Nobody Follows
Many cooks over‑cook tilapia by using low heat, but the secret is to cook on high heat for a short time. This creates a caramelized crust while locking in moisture. I’ve tried cooking at 350°F for 20 minutes and the fillets came out dry and mushy.
Why Your Nose Knows Best
As soon as the butter starts to bubble, the aroma will shift from buttery to nutty. That’s your cue to flip the fish. If you wait too long, the crust will burn and the fish will taste burnt.
The 5‑Minute Rest That Changes Everything
Let the fillets rest for 5 minutes after cooking. This allows the juices to redistribute, keeping the meat moist. A friend once tried skipping this step and the fillets were dry and unappetizing.
Use a Non‑Stick Skillet for Crispness
A good non‑stick pan ensures the coating doesn’t stick and tear. If you’re using a cast‑iron skillet, preheat it for a few minutes before adding the butter.
Keep the Lemon Juice Fresh
Freshly squeezed lemon juice is key. Bottled lemon juice can be too acidic and will overpower the butter. Squeeze a fresh lemon for the best balance.
Creative Twists and Variations
This recipe is a playground. Here are some of my favorite ways to switch things up:
Spicy Cajun Tilapia
Swap the paprika for a Cajun spice blend and add a pinch of cayenne pepper. The result is a fiery, smoky flavor that pairs beautifully with a cool cucumber salad.
Herb‑Infused Crust
Mix dried thyme, oregano, and rosemary into the breadcrumb coating. The herbs infuse the fish with Mediterranean vibes, making it a perfect match for a Greek salad.
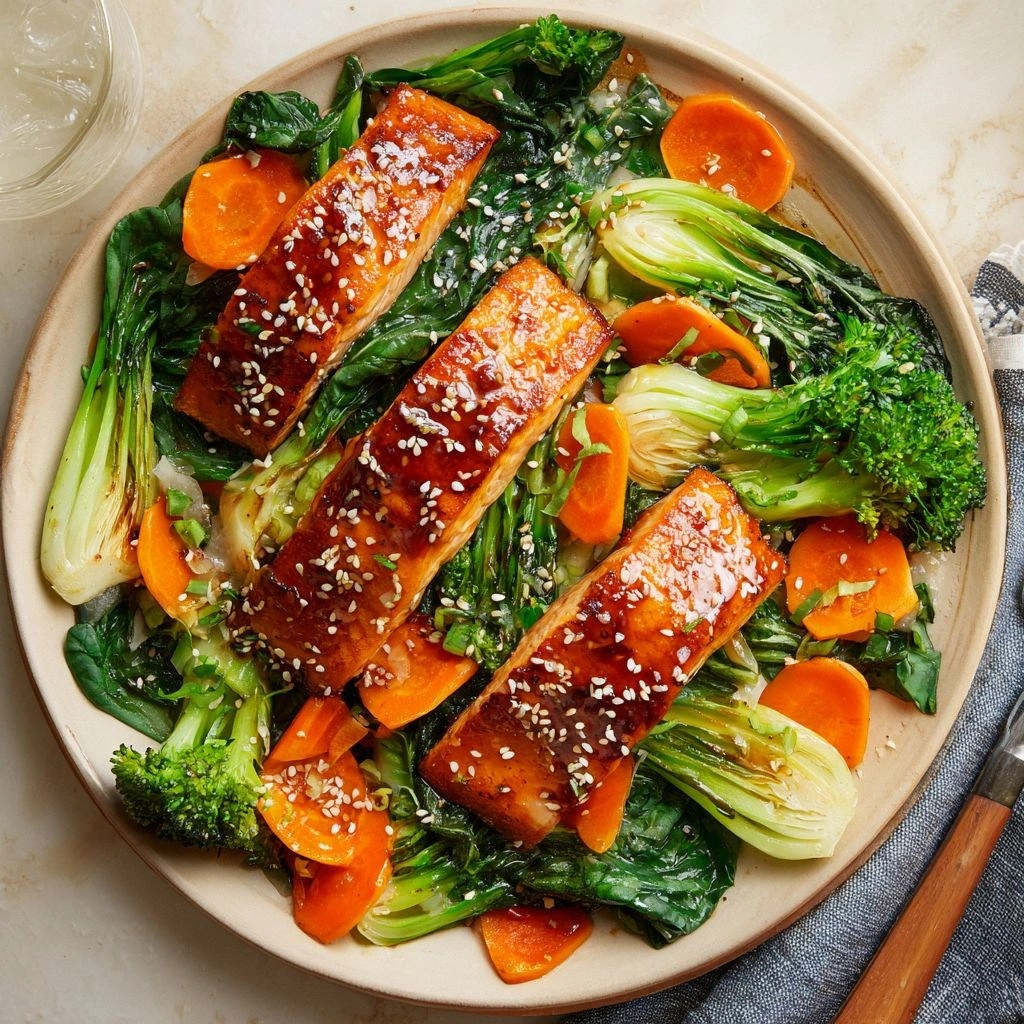
Asian Twist
Replace the butter with a mixture of sesame oil and a splash of soy sauce. Finish with a drizzle of honey and a sprinkle of toasted sesame seeds for a sweet‑savory kick.
Cheesy Parmesan Crust
Grate 1/4 cup of Parmesan cheese into the breadcrumb mixture. The cheese melts into a golden crust that adds a nutty depth to each bite.
Vegan Version
Use plant‑based butter or coconut oil and substitute the fish with firm tofu or tempeh. The lemon butter sauce still works wonderfully, giving the dish a bright, tangy flavor.
Storing and Bringing It Back to Life
Fridge Storage
Cool the fillets completely, then place them in an airtight container. Store in the refrigerator for up to 2 days. The crust may soften slightly, but the flavor remains intact.
Freezer Friendly
Wrap each fillet individually in parchment paper and place them in a freezer bag. They can be frozen for up to 3 months. Thaw overnight in the fridge before reheating.
Best Reheating Method
Reheat in a skillet over medium heat, adding a splash of water or broth to steam the fillets gently. The tiny splash of water steams the fish back to perfection without drying it out.